> ## Documentation Index
> Fetch the complete documentation index at: https://docs.acelabusa.com/llms.txt
> Use this file to discover all available pages before exploring further.
# Installing and Uninstalling Revit Plugin
> Learn how to install, update, and uninstall the Acelab plugin for Autodesk Revit.
*Written by Patricia Causey · Updated June 19, 2026*
## Before You Begin
Make sure you have the following before installing the plugin:
* Uninstall the production version of the Acelab addin (from the typical windows settings)
* Make sure there are no Acelab-related files left under `%appdata%\\Autodesk\\ApplicationPlugins` or `%programdata%\\Autodesk\\ApplicationPlugins`
## Install the Plugin
1. Navigate to [acelabusa.com](https://acelabusa.com/revit)
2. Click the **[Download Plugin](https://cdn.prod.website-files.com/69975a27432ddb9dcf949f22/6a18759e22a405f203d45efd_AcelabRevitAddin%20\(20\)%20\(1\).zip)** button to download the installer (.msi file)
3. Open the downloaded file
4. Accept the **License Agreement**
5. Click **Next**, then **Finish**
To learn more about IT Deployment and Update Guide, click the link below
Once installed:
* Open your project in **Revit**
* An **Acelab** tab will appear in your Revit toolbar
* Click the **Acelab** tab, then click **Sign In**
* Enter your **Acelab credentials** and click **Sign In**
 ***
## Update the Plugin
When a new version of the plugin is released, you'll be notified automatically:
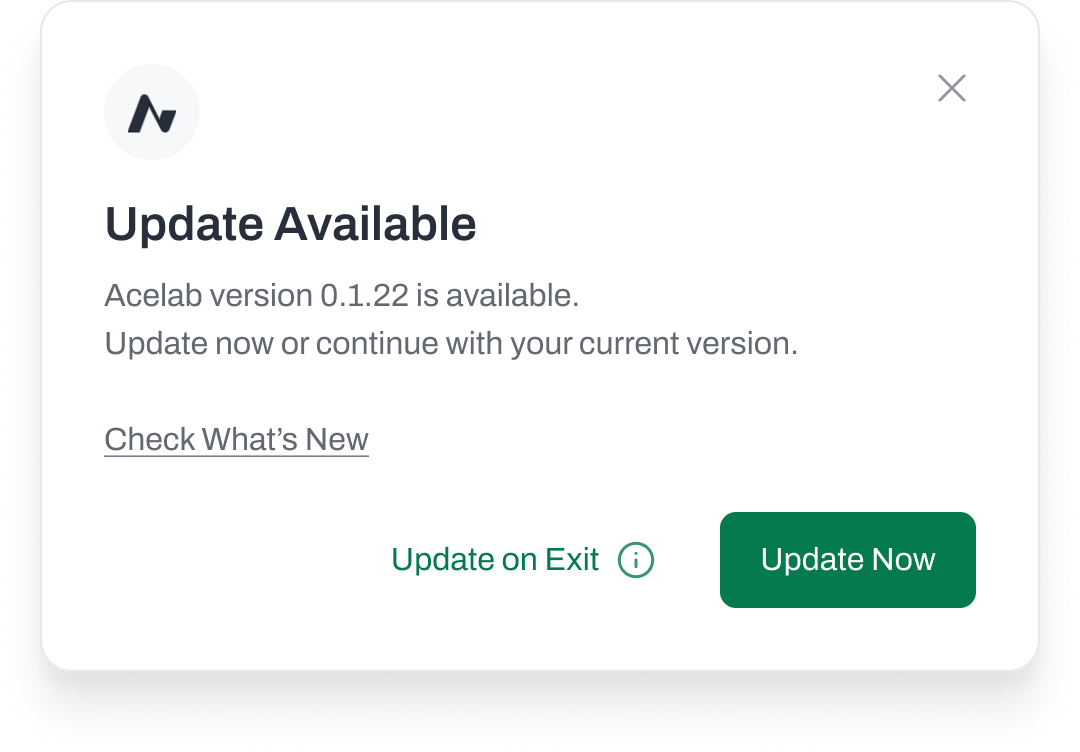
* An **update popup** will appear when you launch Revit
* Follow the on-screen prompts to download and install the latest version
* No need to uninstall the previous version first — the update will replace it
We recommend always updating to the latest version to ensure compatibility and access to new features.
***
## Uninstall the Plugin
You can uninstall the Acelab plugin using either of these methods:
## Option 1: Windows Control Panel
1. Open **Windows Settings** > **Apps** > **Apps & features** (or **Control Panel** > **Programs and Features**)
2. Search for **Acelab** in the list of installed programs
3. Click on it and select **Uninstall**
4. Follow the prompts to complete the removal
## Option 2: Re-run the Installer
1. Run the Acelab plugin installer (.msi file) again
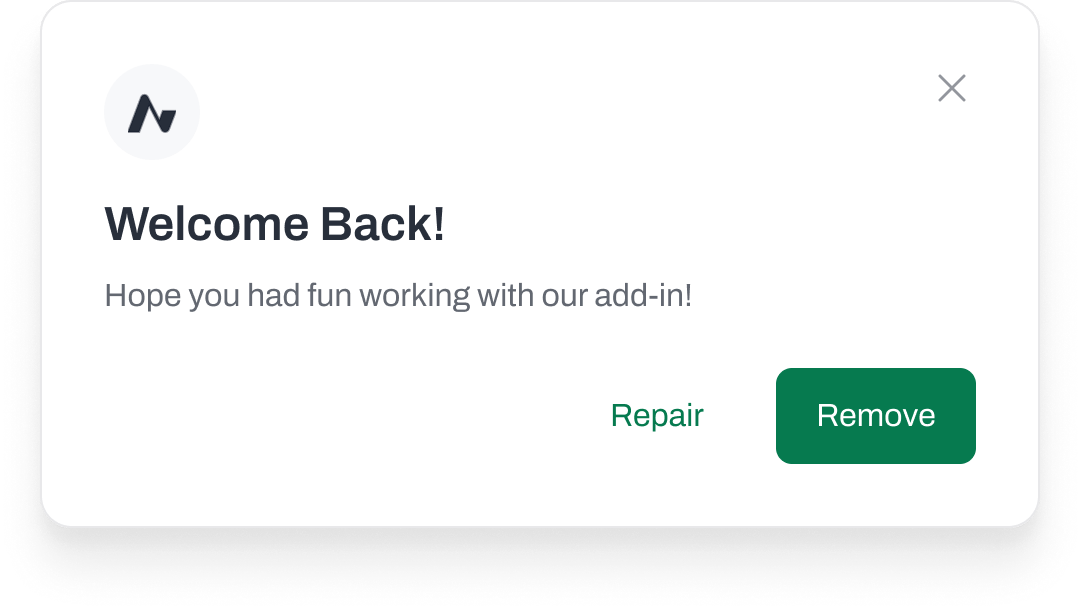
2. Select the **Remove** option when prompted
3. Follow the prompts to complete the removal
***
## Update the Plugin
When a new version of the plugin is released, you'll be notified automatically:
* An **update popup** will appear when you launch Revit
* Follow the on-screen prompts to download and install the latest version
* No need to uninstall the previous version first — the update will replace it
We recommend always updating to the latest version to ensure compatibility and access to new features.
***
## Uninstall the Plugin
You can uninstall the Acelab plugin using either of these methods:
## Option 1: Windows Control Panel
1. Open **Windows Settings** > **Apps** > **Apps & features** (or **Control Panel** > **Programs and Features**)
2. Search for **Acelab** in the list of installed programs
3. Click on it and select **Uninstall**
4. Follow the prompts to complete the removal
## Option 2: Re-run the Installer
1. Run the Acelab plugin installer (.msi file) again
2. Select the **Remove** option when prompted
3. Follow the prompts to complete the removal
 After uninstalling, the Acelab tab will no longer appear in your Revit toolbar the next time you launch Revit.
**Note:** Uninstalling the plugin does not affect your Acelab account, projects, or any data in the Materials Hub. Your product mappings and schedule data remain intact on the platform.
***
## Troubleshooting
| Issue | Solution |
| -------------------------------------------- | ------------------------------------------------------------------------------------------------------------------------------------------------------------------------------------- |
| Acelab tab doesn't appear after installation | Restart Revit. If the tab still doesn't appear, verify the plugin is installed for your Revit version. |
| Sign-in fails | Verify your Acelab credentials by signing in at [app.acelabusa.com](https://app.acelabusa.com). If you can sign in on the web but not in Revit, check your network/firewall settings. |
| Update popup doesn't appear | You can always download the latest version manually from [acelabusa.com/revit](https://acelabusa.com/revit). |
| Plugin not showing in Apps & features | Try using the MSI installer method (Option 2) to uninstall instead. |
***
## What's Next?
Once the plugin is installed and you're signed in, the next step is to link your Revit project to an Acelab project.
→ [Linking and Unlinking a Material Hub Project to a Revit Project](/help-center/revit-integration/linking-and-unlinking-material-hub-projects-to-revit)
After uninstalling, the Acelab tab will no longer appear in your Revit toolbar the next time you launch Revit.
**Note:** Uninstalling the plugin does not affect your Acelab account, projects, or any data in the Materials Hub. Your product mappings and schedule data remain intact on the platform.
***
## Troubleshooting
| Issue | Solution |
| -------------------------------------------- | ------------------------------------------------------------------------------------------------------------------------------------------------------------------------------------- |
| Acelab tab doesn't appear after installation | Restart Revit. If the tab still doesn't appear, verify the plugin is installed for your Revit version. |
| Sign-in fails | Verify your Acelab credentials by signing in at [app.acelabusa.com](https://app.acelabusa.com). If you can sign in on the web but not in Revit, check your network/firewall settings. |
| Update popup doesn't appear | You can always download the latest version manually from [acelabusa.com/revit](https://acelabusa.com/revit). |
| Plugin not showing in Apps & features | Try using the MSI installer method (Option 2) to uninstall instead. |
***
## What's Next?
Once the plugin is installed and you're signed in, the next step is to link your Revit project to an Acelab project.
→ [Linking and Unlinking a Material Hub Project to a Revit Project](/help-center/revit-integration/linking-and-unlinking-material-hub-projects-to-revit)