> ## Documentation Index
> Fetch the complete documentation index at: https://docs.acelabusa.com/llms.txt
> Use this file to discover all available pages before exploring further.
# Revit Integration Overview
> Understanding Acelab's Revit Add-in: Connecting Acelab's Materials Hub to your Revit project.
*Written by Patricia Causey · Updated June 19, 2026*
***
## Install the Acelab Plug-in
To learn more about IT Deployment and Update Guide, click the link below
* Navigate to [acelabusa.com](https://acelabusa.com/revit)
* Click on the **Download Plugin** button
* Open the file
* Accept the License Agreement
* Click Next, and Finish
***
## Sign-in
* Open your project in **Revit**
* Once the plug-in is installed, an Acelab tab will appear in your Revit workspace
* Click on the **Acelab** tab
* Click the **Sign In** button
* This is the only active button until you sign in
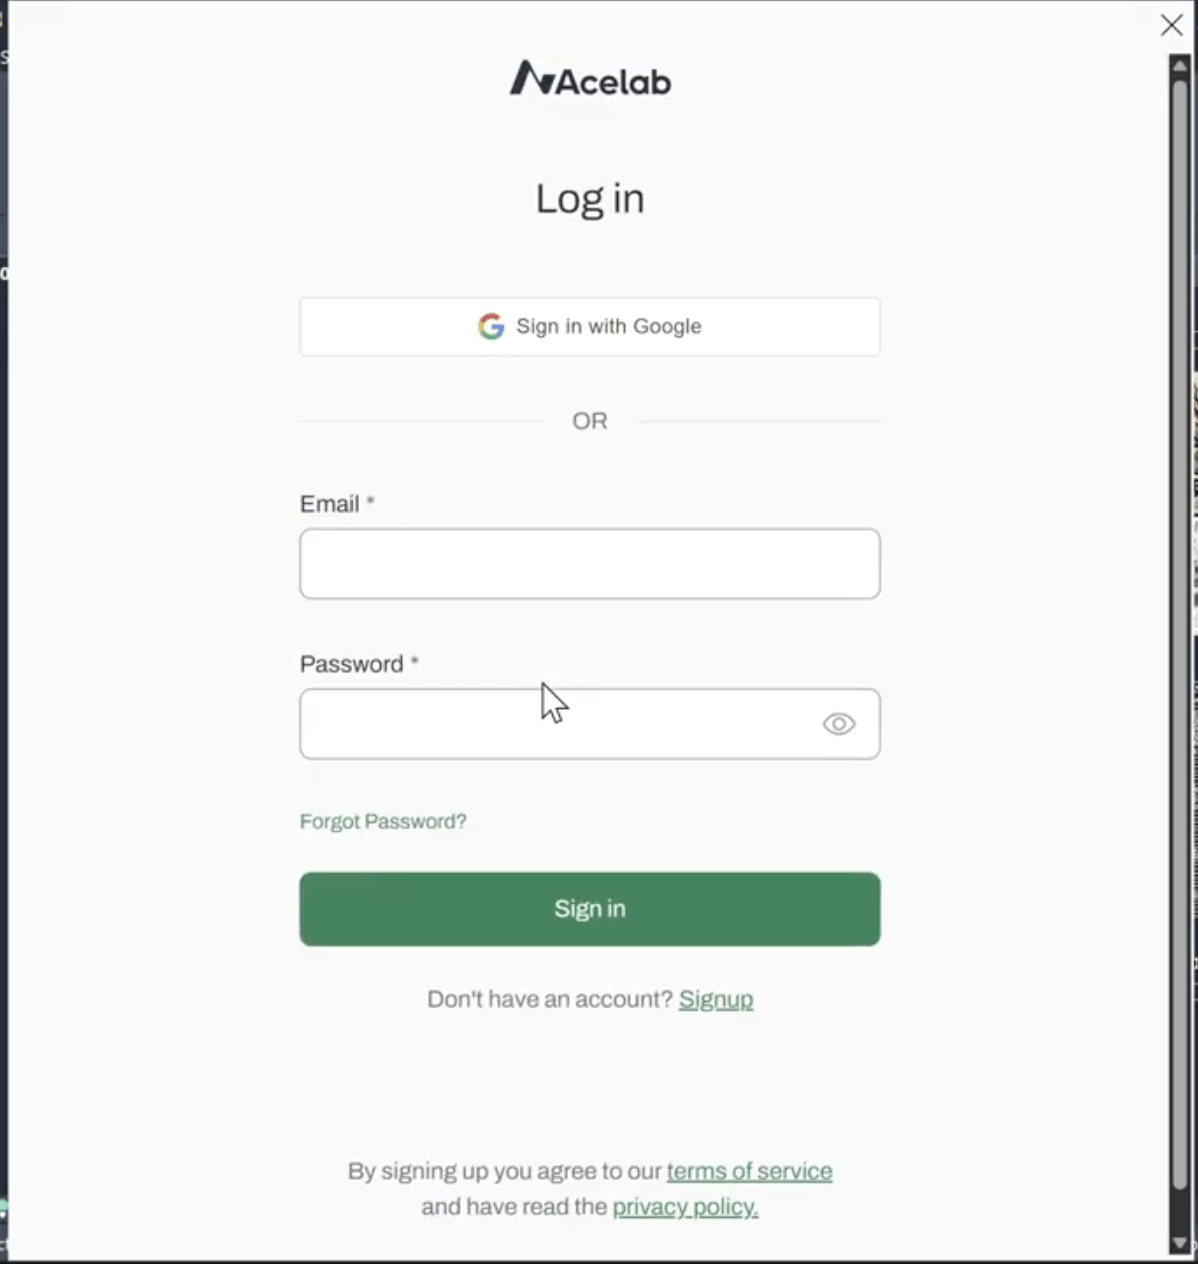
* Add your **Acelab credentials** and click Sign in
* Notice that after signing in, you have the option to sign out, and the other features have been enabled
***
## Link Revit to an Acelab Project
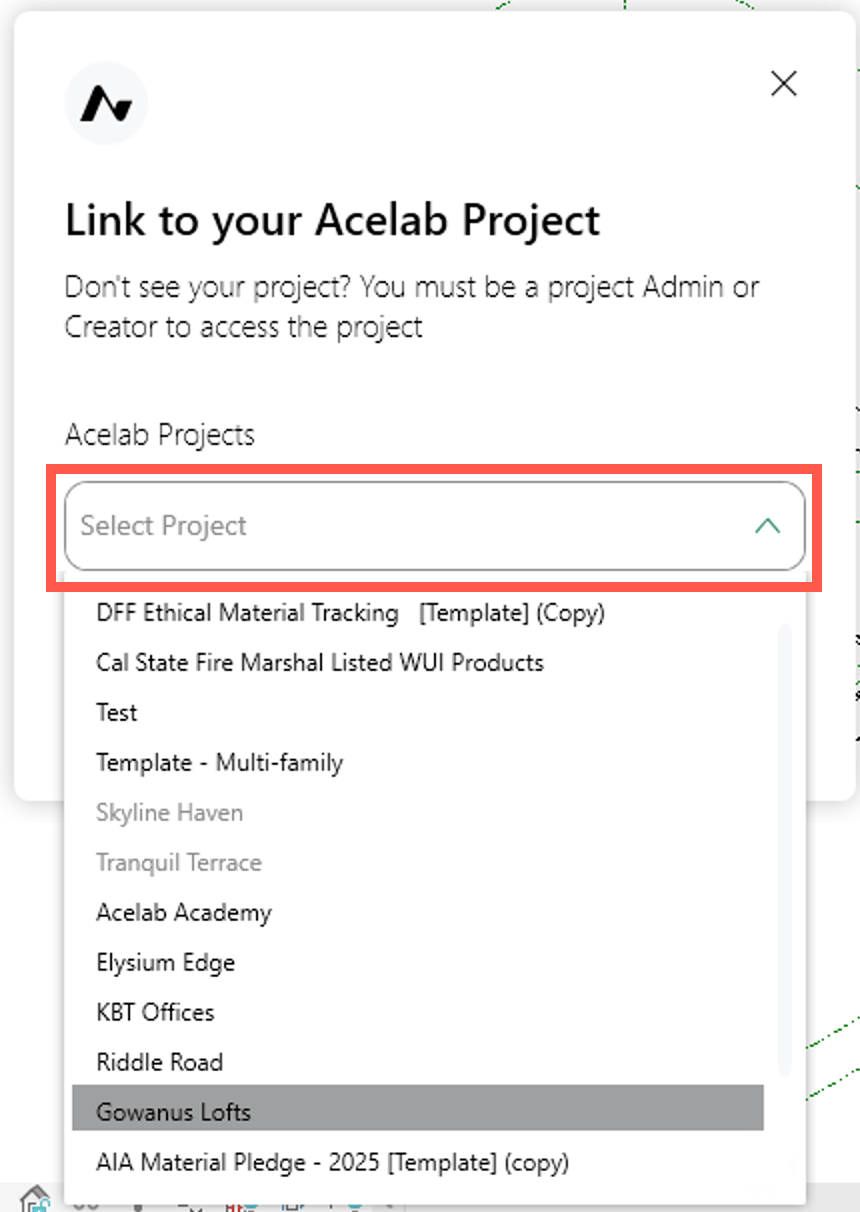
* Click **Select Project** at the top bar menu
* From the dropdown menu, select the Acelab project where products are saved
* Note that the dropdown menu includes all projects you've joined in Acelab
* Click **Next**
* A message that the project has been successfully linked will be displayed, click to **Close** it
***
## Connect Acelab Products to Revit Assets
The Acelab add-in allows you to connect the products and materials you've saved in your projects to your Revit assets, which are materials and elements.
### **Two Workflows, One Goal**
Choose whichever mapping method fits your current task:
* **Product-first:** Start with a product you've selected and connect it to Revit elements.
* **Element-first:** Start with your Revit model and find the right Acelab products for each element
For a step-by-step guide to mapping Acelab Products to Revit Assets, click the link below
***
## View Acelab Product Information in Revit
The Acelab Revit add-in connects your Revit models with Acelab's Material Hub, enabling a two-way data exchange.
* **Product data from Acelab** — such as manufacturer details, specifications, and approval status — flows into your Revit model to enrich its intelligence.
* **Model data from Revit** — such as quantities, element placement, and dimensions — flows back into your Acelab projects.
For a deeper dive into Syncing data between Material Hub and Revit, click the link below
 * Add your **Acelab credentials** and click Sign in
* Notice that after signing in, you have the option to sign out, and the other features have been enabled
* Add your **Acelab credentials** and click Sign in
* Notice that after signing in, you have the option to sign out, and the other features have been enabled