> ## Documentation Index
> Fetch the complete documentation index at: https://docs.acelabusa.com/llms.txt
> Use this file to discover all available pages before exploring further.
# Creating and Overwriting SpecPlanner Templates
> Create a New Template from Your Current SpecPlanner and Overwrite an Existing Template.
*Written by Armaan Shah · Updated February 10, 2026*
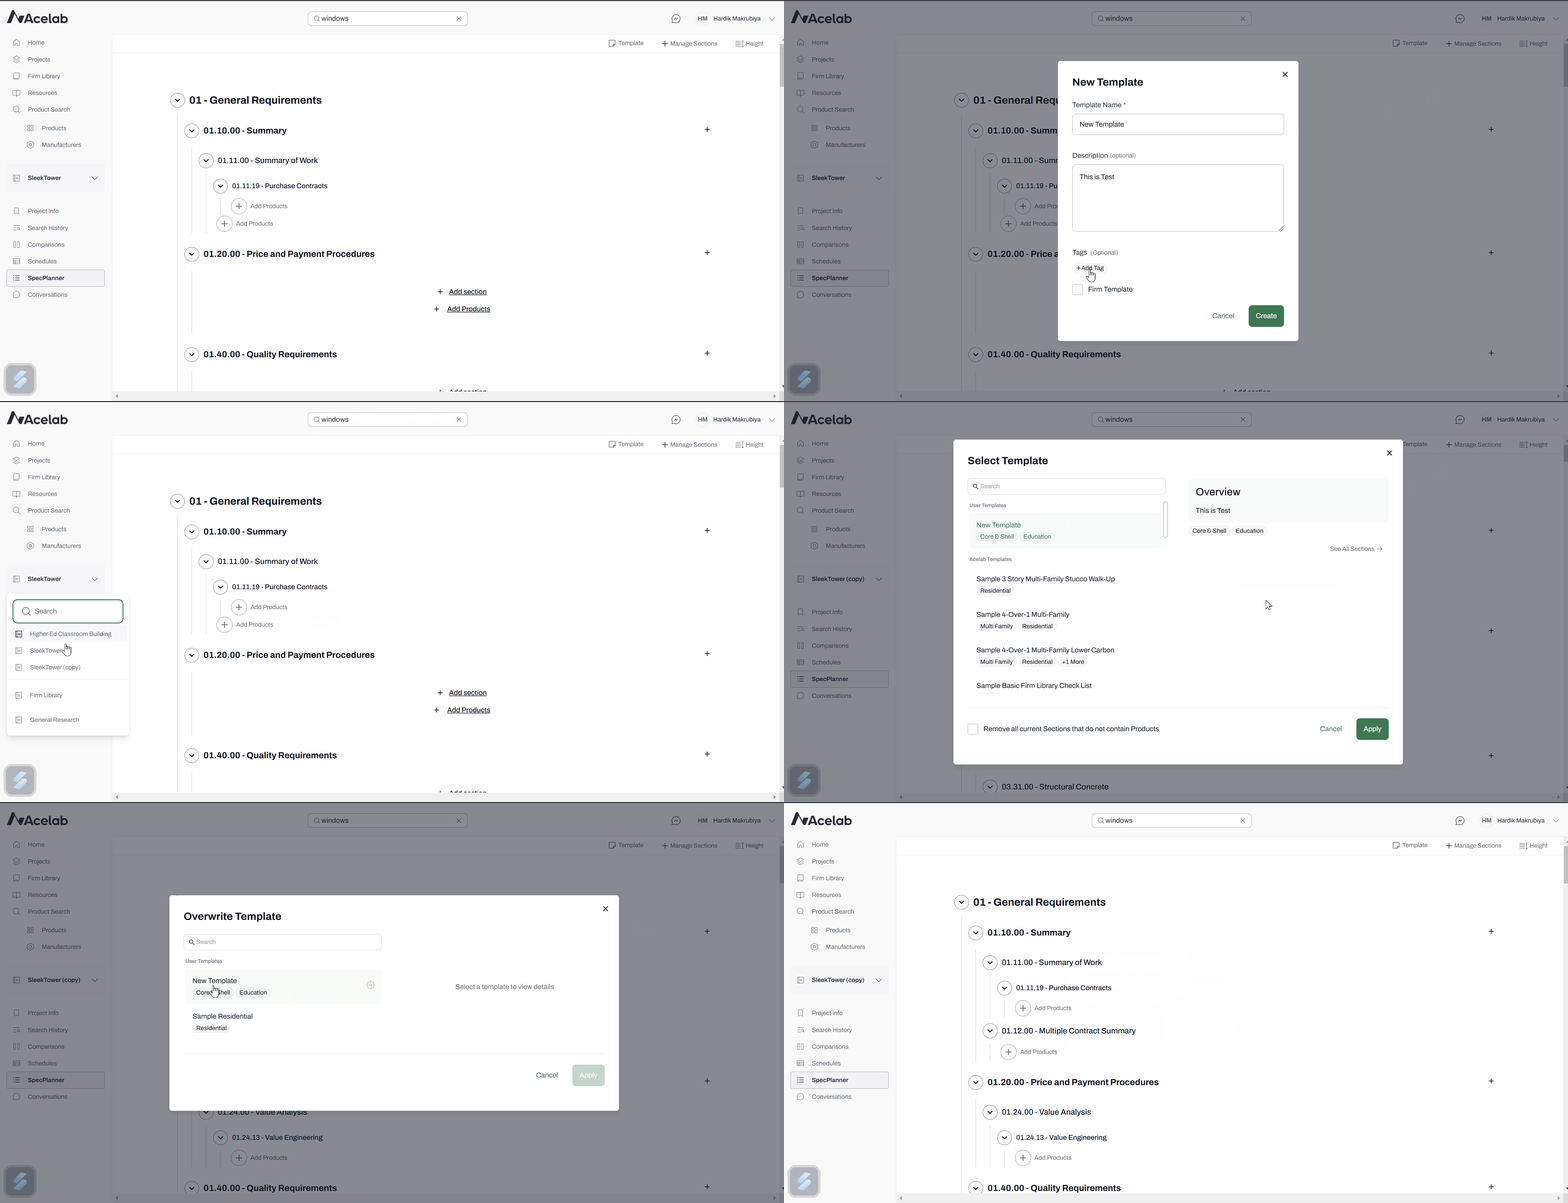
The ability to create and overwrite SpecPlanner templates allows you to easily reuse your preferred configurations and streamline project setup. This process ensures consistency across projects and saves time by allowing you to create templates based on your custom SpecPlanner configurations.
 ***
## **How to Create a New Template from Your Current SpecPlanner**
If you want to save your current SpecPlanner configuration as a **new template**, follow these steps:
1. ### **Select Create Template from Current View**
* Navigate to the **Template** menu on the SpecPlanner toolbar and click **Create Template from Current View**.
2. ### **Enter Template Details**
* **Name** : Enter a unique name for your new template.
* **Description** : Add a description to help identify the template’s purpose.
* **Tags** : Add any relevant tags to organize your template.
***
## **How to Create a New Template from Your Current SpecPlanner**
If you want to save your current SpecPlanner configuration as a **new template**, follow these steps:
1. ### **Select Create Template from Current View**
* Navigate to the **Template** menu on the SpecPlanner toolbar and click **Create Template from Current View**.
2. ### **Enter Template Details**
* **Name** : Enter a unique name for your new template.
* **Description** : Add a description to help identify the template’s purpose.
* **Tags** : Add any relevant tags to organize your template.
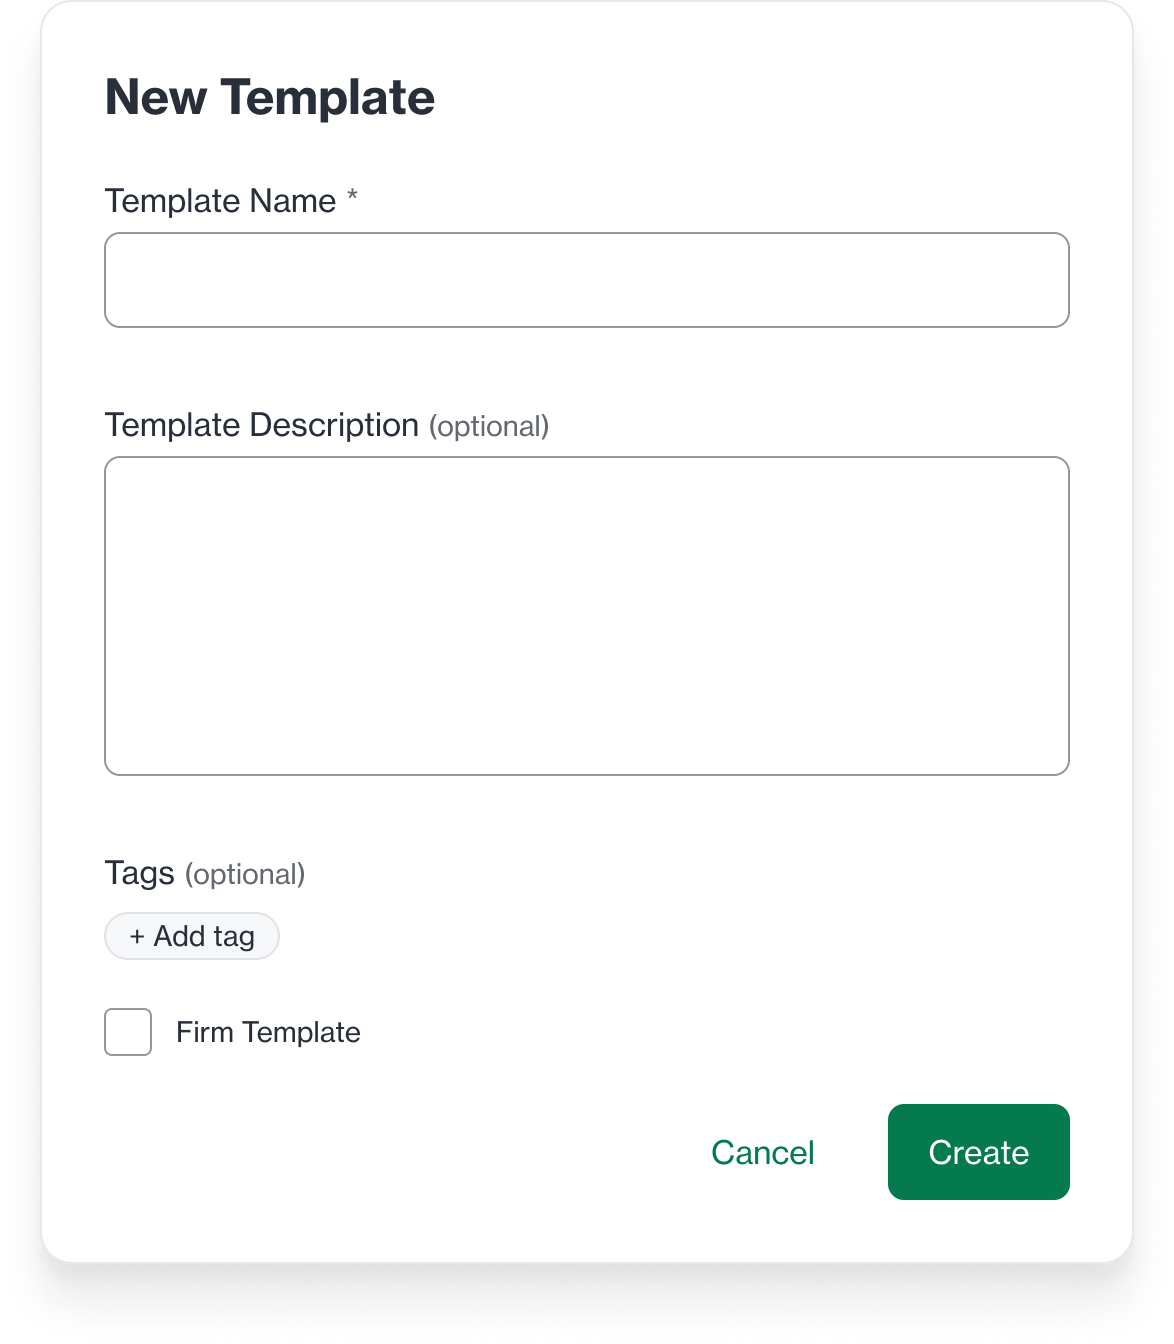 3. ### **Select Template Level**
* If the checkbox is checked, the template will be saved as a Firm Level Template or else **User level** template.
Note **: Admins** and **Creators** can toggle this checkbox to save the template at the **Firm level**.
4. ### **Click** **Create** to save your new template
***
## **How to Overwrite an Existing Template**
If you want to update an existing template with your current SpecPlanner configuration, follow these steps:
1. ### **Select Overwrite Existing Template**
* In the **Template** menu on the SpecPlanner toolbar, click **Overwrite Existing Template**.
2. ### **Select the Template to overwrite**
* You will see list of templates that you can update.
* **Admins** and **Creators** will see both **User** and **Firm level templates**.
* **Editors** will only see **User level templates**.
3. ### **Select Template Level**
* If the checkbox is checked, the template will be saved as a Firm Level Template or else **User level** template.
Note **: Admins** and **Creators** can toggle this checkbox to save the template at the **Firm level**.
4. ### **Click** **Create** to save your new template
***
## **How to Overwrite an Existing Template**
If you want to update an existing template with your current SpecPlanner configuration, follow these steps:
1. ### **Select Overwrite Existing Template**
* In the **Template** menu on the SpecPlanner toolbar, click **Overwrite Existing Template**.
2. ### **Select the Template to overwrite**
* You will see list of templates that you can update.
* **Admins** and **Creators** will see both **User** and **Firm level templates**.
* **Editors** will only see **User level templates**.
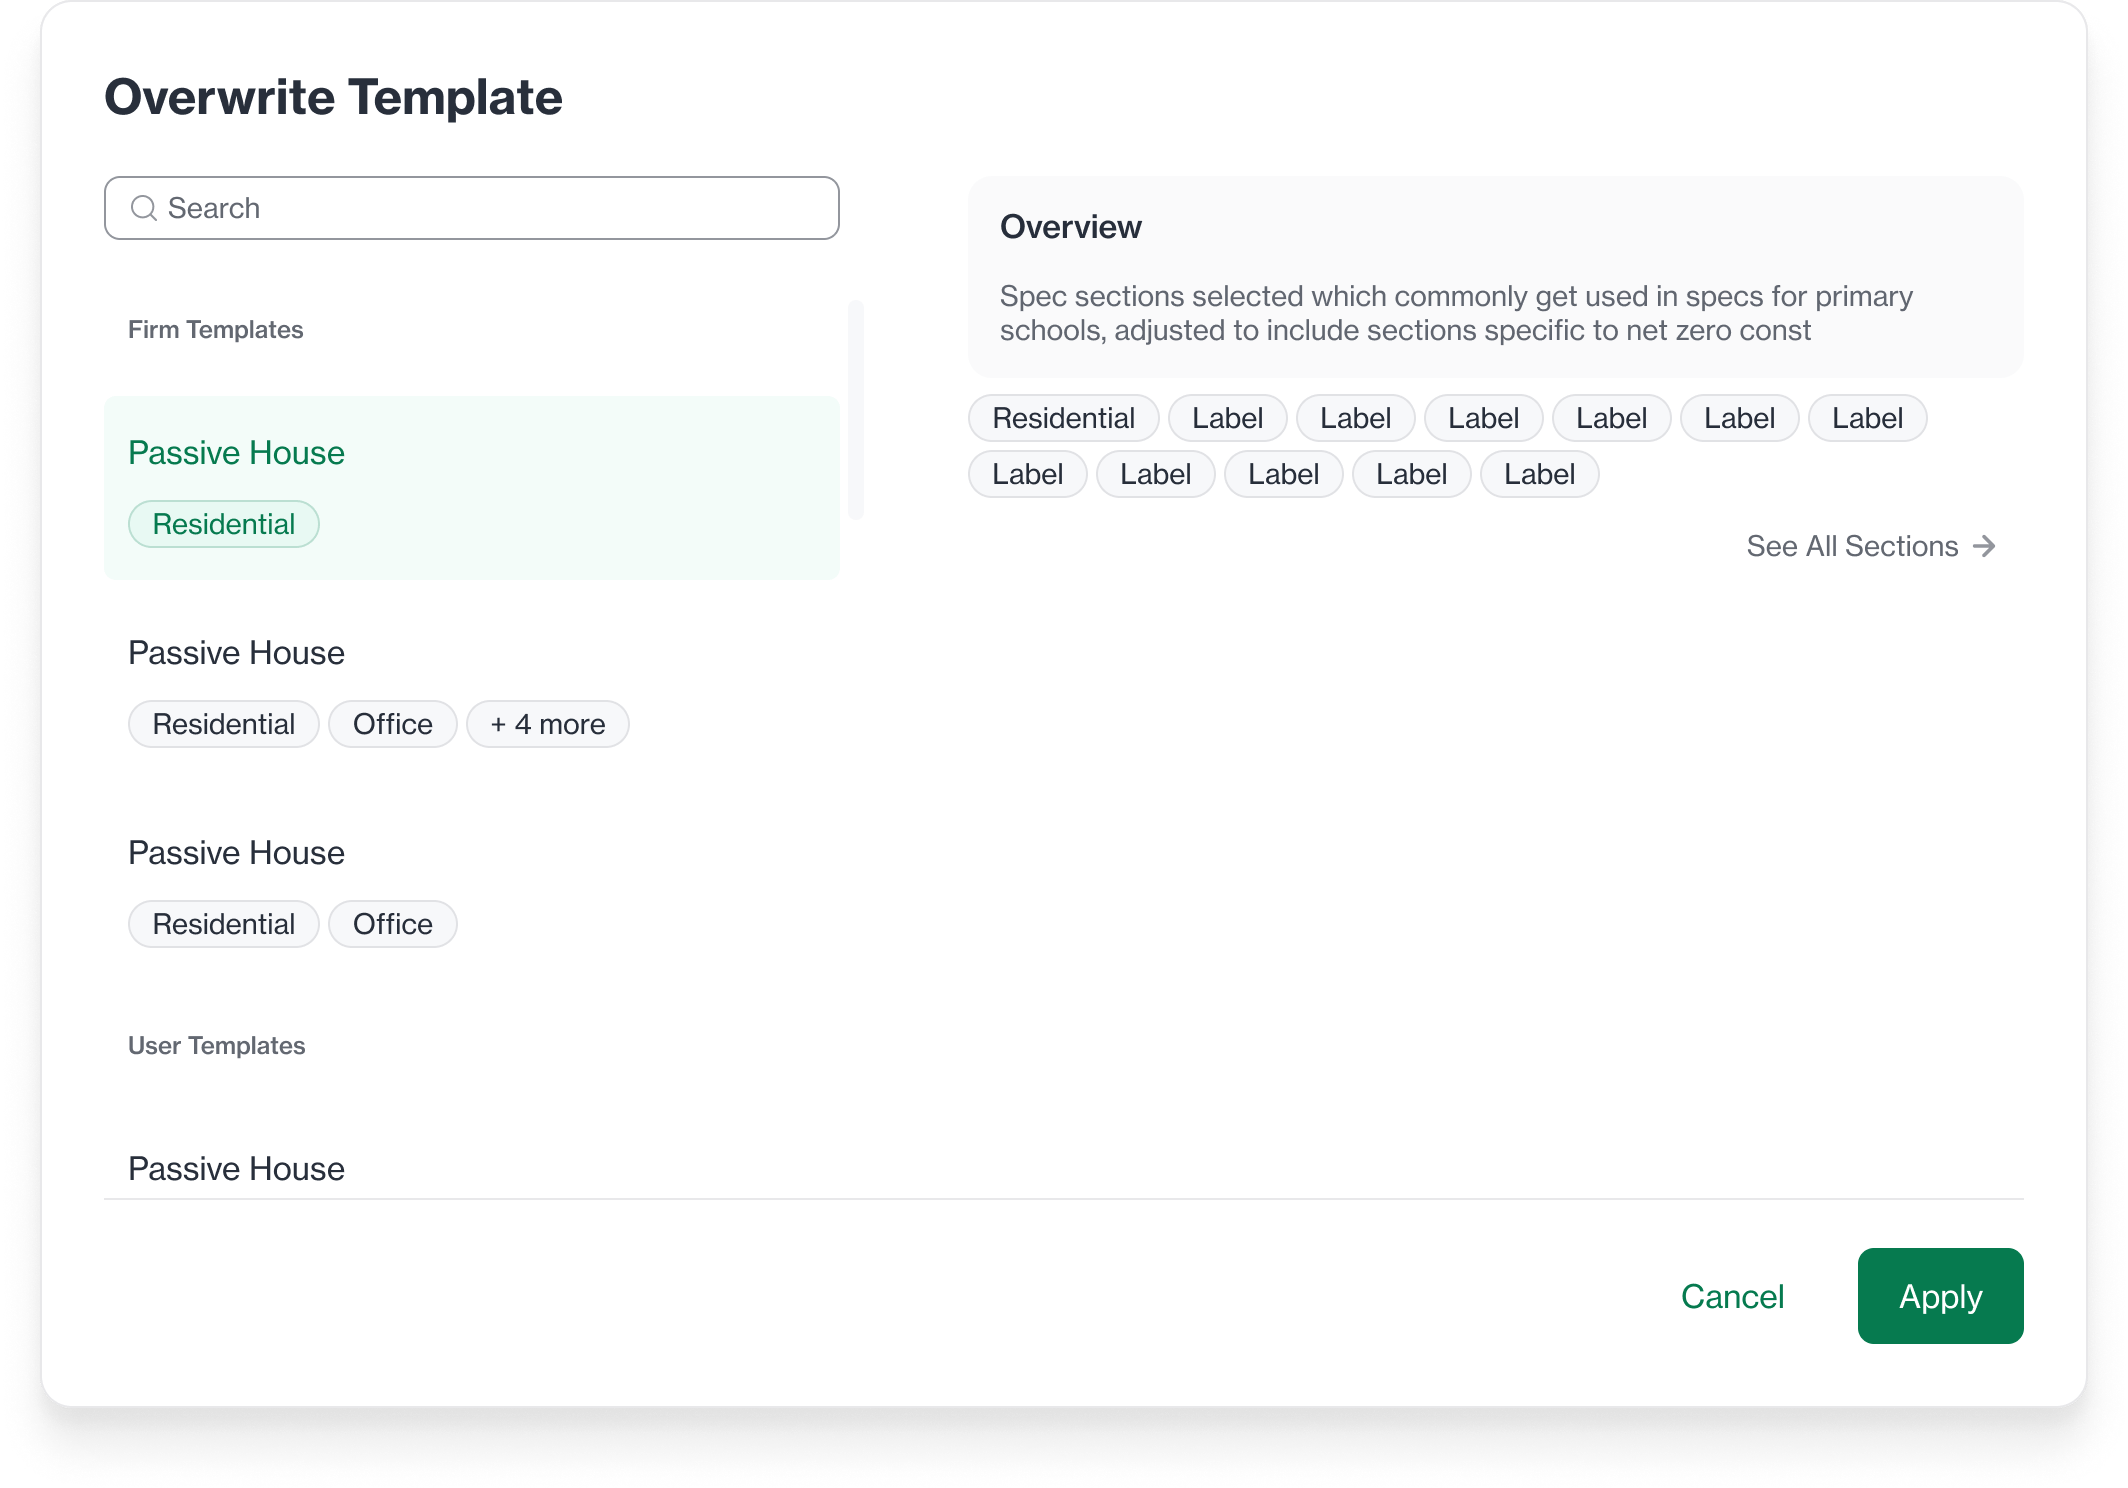 3. ### **Click Apply**
* This will confirm updating the selected template with your current SpecPlanner configuration.
3. ### **Click Apply**
* This will confirm updating the selected template with your current SpecPlanner configuration.