> ## Documentation Index
> Fetch the complete documentation index at: https://docs.acelabusa.com/llms.txt
> Use this file to discover all available pages before exploring further.
# How to Accept Your Invitation and Set Up Your Account
> Everything you need to do before your first login — from inbox to dashboard.
Acelab accounts for manufacturers are invitation-only. A Manufacturer Admin at your company — or an Acelab team member — will send you an invite by email. This article walks you through accepting that invite and completing your account setup.
***
## Before You Begin
* You will need the invitation email sent to your work address.
* Your work email and company name are pre-filled and cannot be changed during setup.
* If you haven't received an invite, contact your company's Manufacturer Admin or reach out to Acelab support.
***
## Steps
from Acelab and click the link to accept your invite.
Your work email and company name will already be populated — these are set by your admin and are read-only.
* First Name
* Last Name
* Job Title
* Phone Number
This will be visible to architects when you're listed as their point of contact.
at the bottom of the form.
You'll see a confirmation message once your account is created.
with your email and new password to access your dashboard.
***
### Updating your Account Information
You may elect to update your account information after you've completed account creation.
1. Go to your profile picture at the top right corner of the page, and click **Manage Account**. Go to **Account Settings** and click **Edit** to make changes.
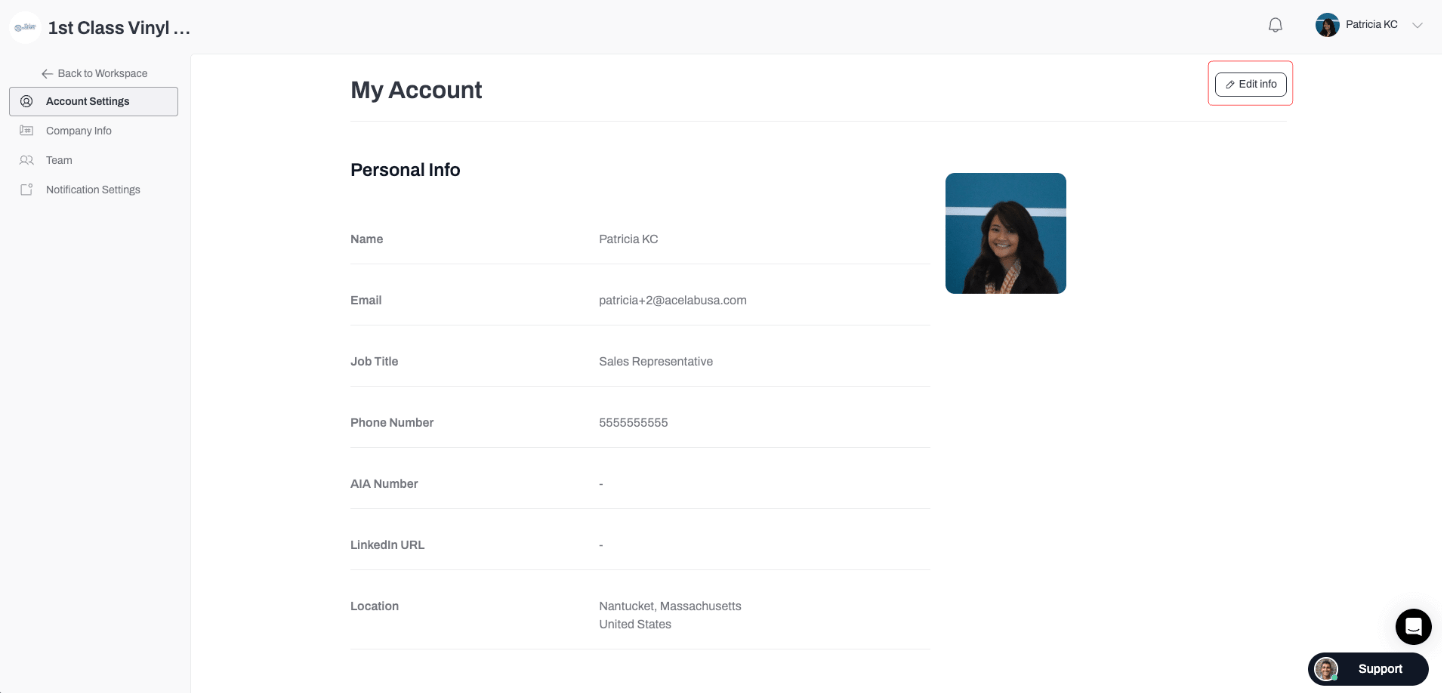 2. Click **Save** to save your changes.
***
## Outcome
After completing setup, you'll land on your manufacturer dashboard. Depending on your role, you'll see either the **Leads Dashboard** (for leads management) or the **Conversations**. Your admin can adjust your access as needed.
***
2. Click **Save** to save your changes.
***
## Outcome
After completing setup, you'll land on your manufacturer dashboard. Depending on your role, you'll see either the **Leads Dashboard** (for leads management) or the **Conversations**. Your admin can adjust your access as needed.
***