
Before You Begin
Make sure you have the following before installing the plugin:- Uninstall the production version of the Acelab addin (from the typical windows settings)
- Make sure there are no Acelab-related files left under
%appdata%\\Autodesk\\ApplicationPluginsor%programdata%\\Autodesk\\ApplicationPlugins
Install the Plugin
- Navigate to acelabusa.com
- Click the Download Plugin button to download the installer (.msi file)
- Open the downloaded file
- Accept the License Agreement
- Click Next, then Finish
Installing the Revit Add-In
To learn more about IT Deployment and Update Guide, click the link below
- Open your project in Revit
- An Acelab tab will appear in your Revit toolbar
- Click the Acelab tab, then click Sign In
- Enter your Acelab credentials and click Sign In

Update the Plugin
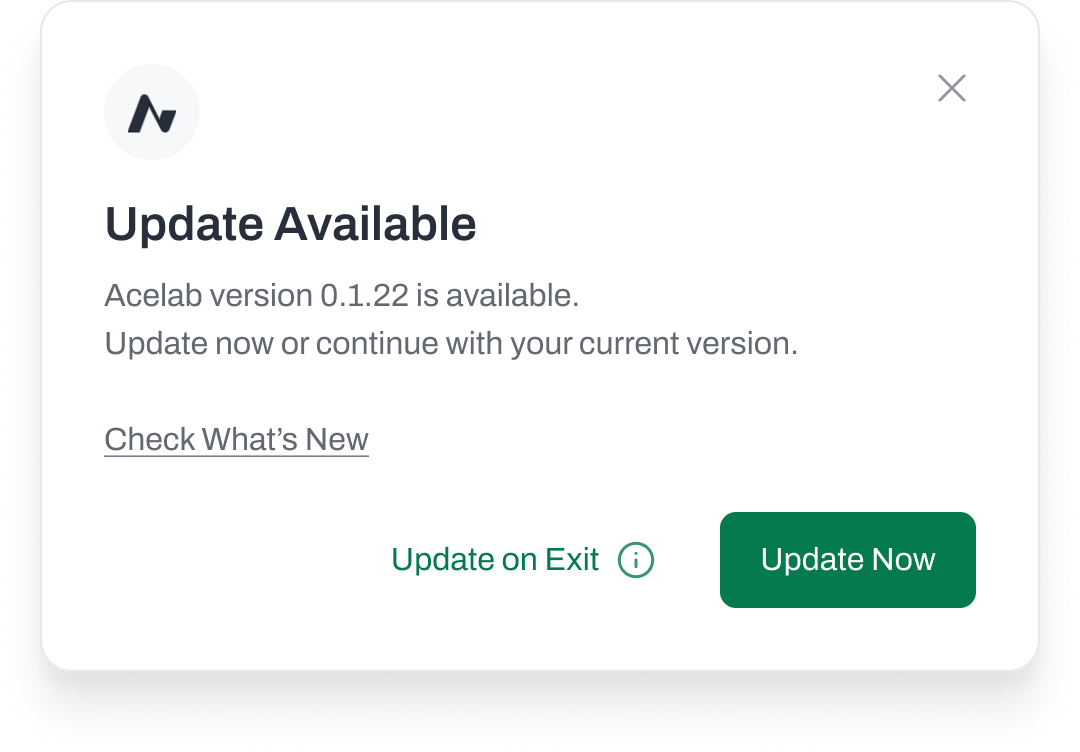
When a new version of the plugin is released, you’ll be notified automatically:- An update popup will appear when you launch Revit
- Follow the on-screen prompts to download and install the latest version
- No need to uninstall the previous version first — the update will replace it
Uninstall the Plugin
You can uninstall the Acelab plugin using either of these methods:Option 1: Windows Control Panel
- Open Windows Settings > Apps > Apps & features (or Control Panel > Programs and Features)
- Search for Acelab in the list of installed programs
- Click on it and select Uninstall
- Follow the prompts to complete the removal
Option 2: Re-run the Installer
- Run the Acelab plugin installer (.msi file) again
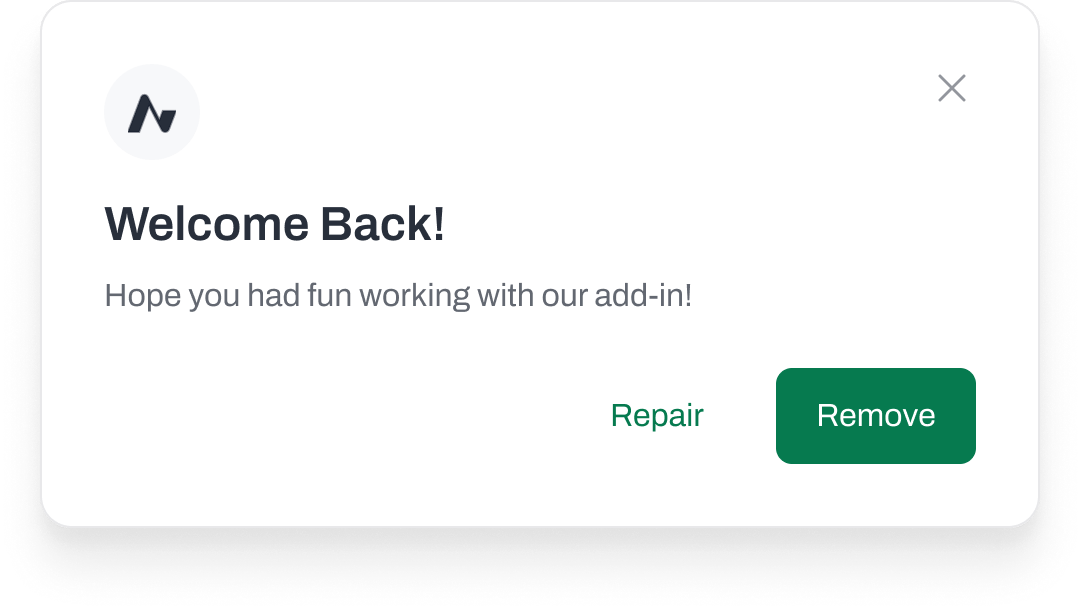
- Select the Remove option when prompted
- Follow the prompts to complete the removal