

Install the Acelab Plug-in
Installing the Revit Add-In
To learn more about IT Deployment and Update Guide, click the link below
- Navigate to acelabusa.com
- Click on the Download Plugin button
- Open the file
- Accept the License Agreement
- Click Next, and Finish
Sign-in
- Open your project in Revit
- Once the plug-in is installed, an Acelab tab will appear in your Revit workspace
- Click on the Acelab tab
- Click the Sign In button
- This is the only active button until you sign in

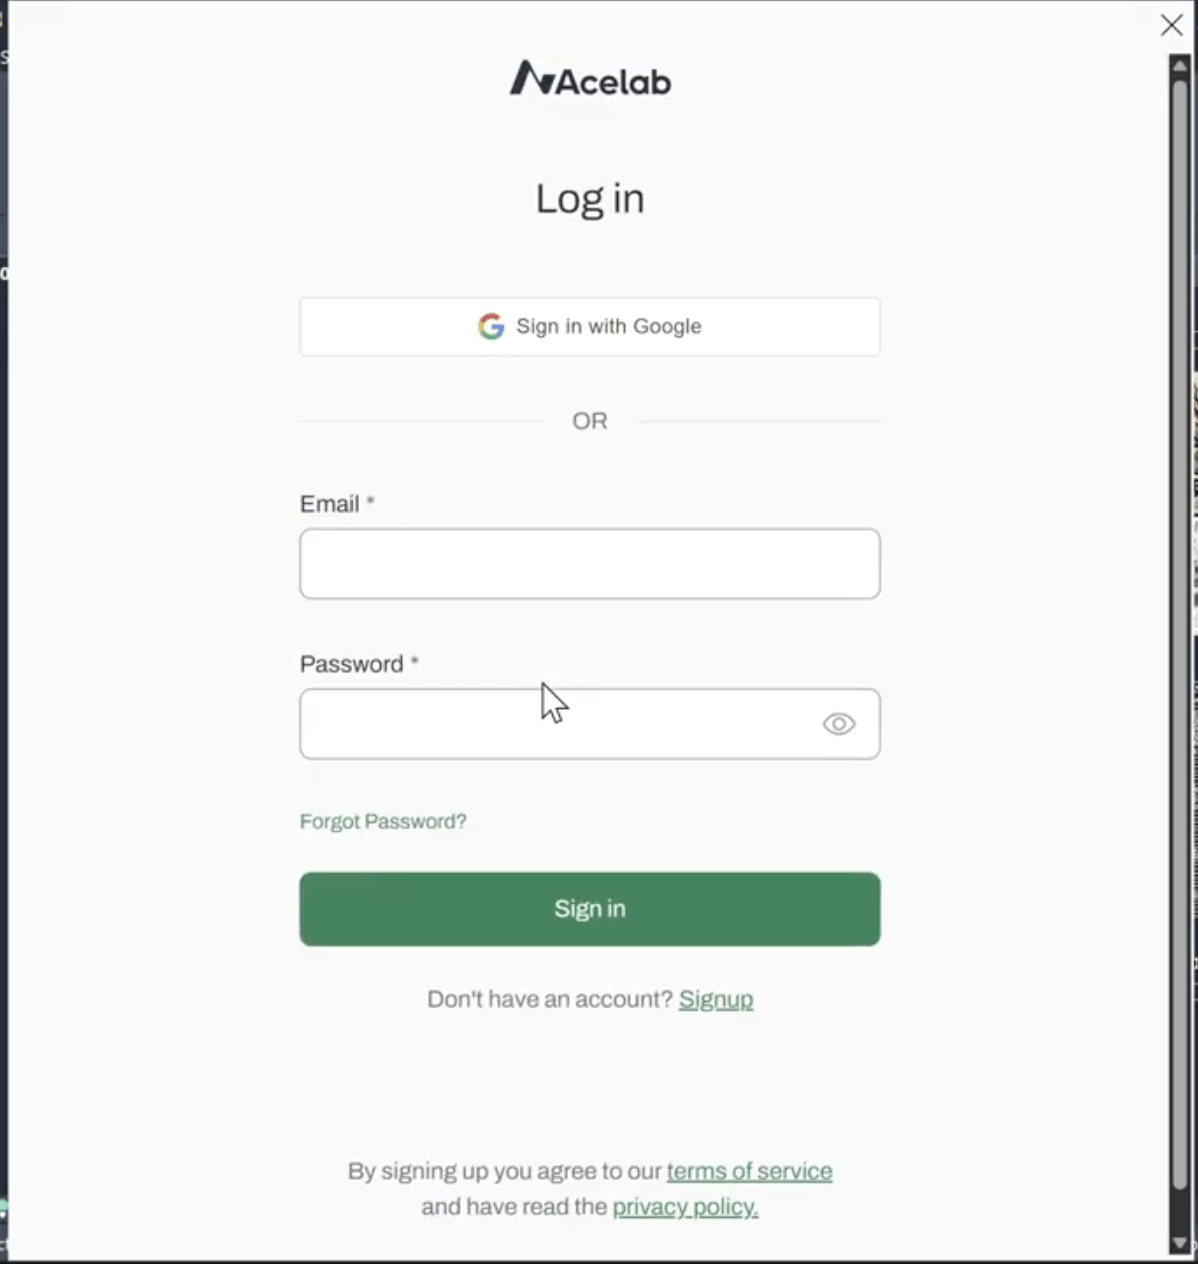
- Add your Acelab credentials and click Sign in
- Notice that after signing in, you have the option to sign out, and the other features have been enabled
Link Revit to an Acelab Project
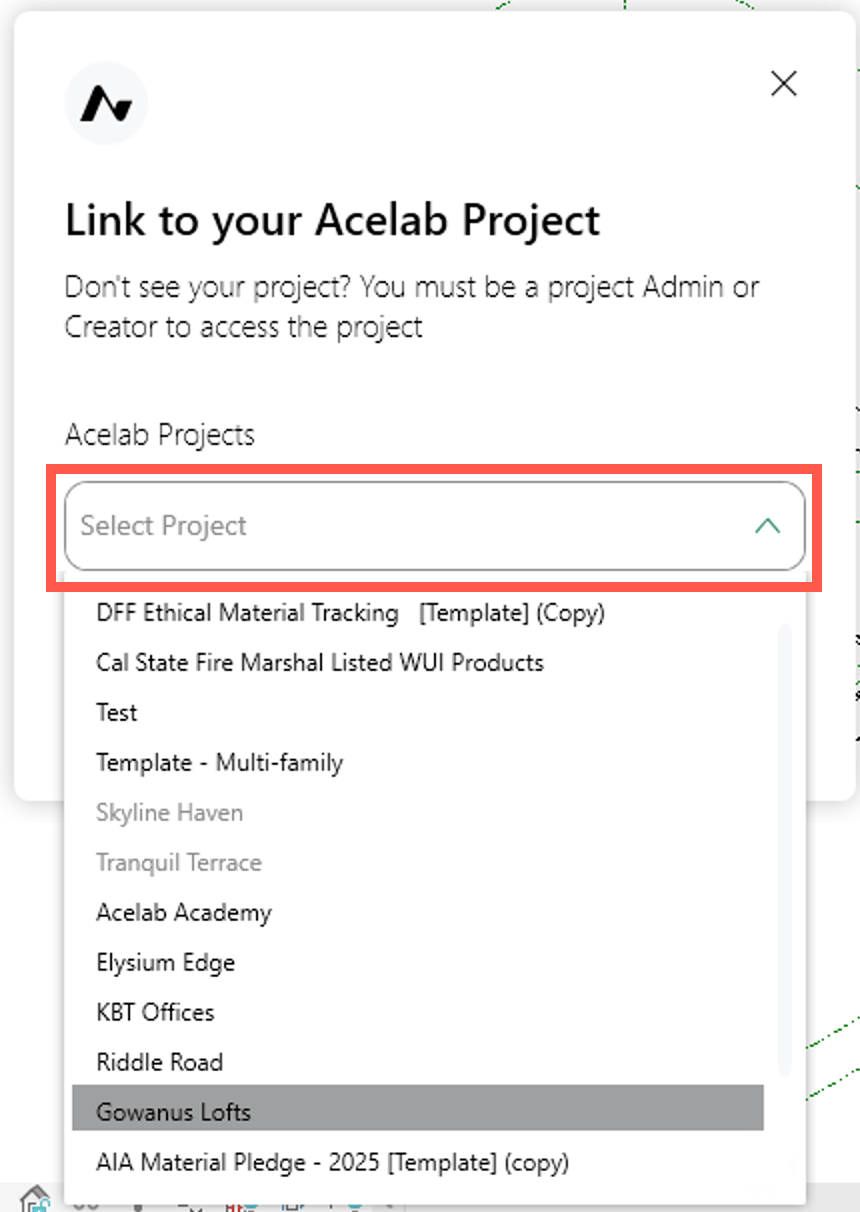
- Click Select Project at the top bar menu
- From the dropdown menu, select the Acelab project where products are saved
- Note that the dropdown menu includes all projects you’ve joined in Acelab
- Click Next
- A message that the project has been successfully linked will be displayed, click to Close it

Connect Acelab Products to Revit Assets
The Acelab add-in allows you to connect the products and materials you’ve saved in your projects to your Revit assets, which are materials and elements.Two Workflows, One Goal
Choose whichever mapping method fits your current task:- Product-first: Start with a product you’ve selected and connect it to Revit elements.
- Element-first: Start with your Revit model and find the right Acelab products for each element
Guide to Mapping
For a step-by-step guide to mapping Acelab Products to Revit Assets, click the link below
View Acelab Product Information in Revit
The Acelab Revit add-in connects your Revit models with Acelab’s Material Hub, enabling a two-way data exchange.- Product data from Acelab — such as manufacturer details, specifications, and approval status — flows into your Revit model to enrich its intelligence.
- Model data from Revit — such as quantities, element placement, and dimensions — flows back into your Acelab projects.
Guide to Synchronizing Data
For a deeper dive into Syncing data between Material Hub and Revit, click the link below