

Before You Begin
- You will need the invitation email sent to your work address.
- Your work email and company name are pre-filled and cannot be changed during setup.
- If you haven’t received an invite, contact your company’s Manufacturer Admin or reach out to Acelab support.
Steps
1
Open the invitation email
from Acelab and click the link to accept your invite.
2
Review your pre-filled details.
Your work email and company name will already be populated — these are set by your admin and are read-only.
3
Be sure to double check and update if needed
- First Name
- Last Name
- Job Title
- Phone Number
4
Optionally, upload a profile photo.
This will be visible to architects when you’re listed as their point of contact.
5
Complete the verification step
at the bottom of the form.
6
Click to submit.
You’ll see a confirmation message once your account is created.
7
Sign in
with your email and new password to access your dashboard.
Updating your Account Information
You may elect to update your account information after you’ve completed account creation.- Go to your profile picture at the top right corner of the page, and click Manage Account. Go to Account Settings and click Edit to make changes.
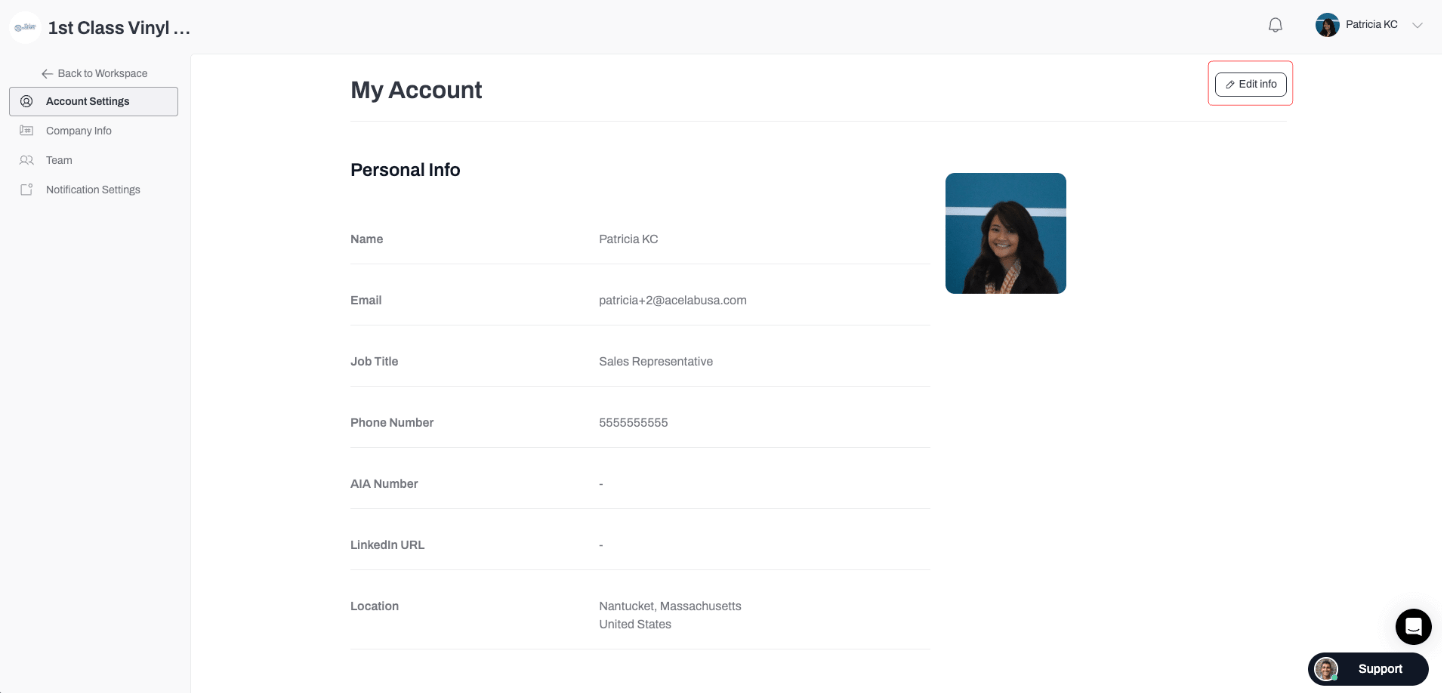
- Click Save to save your changes.