
Before You Begin
- You must have Creator or Admin permissions on the project to import a CSV file.
- Download the sample CSV template from the Upload screen to ensure your file is formatted correctly.
- Maximum file size is 25MB. CSV format only.
How to Start an Import
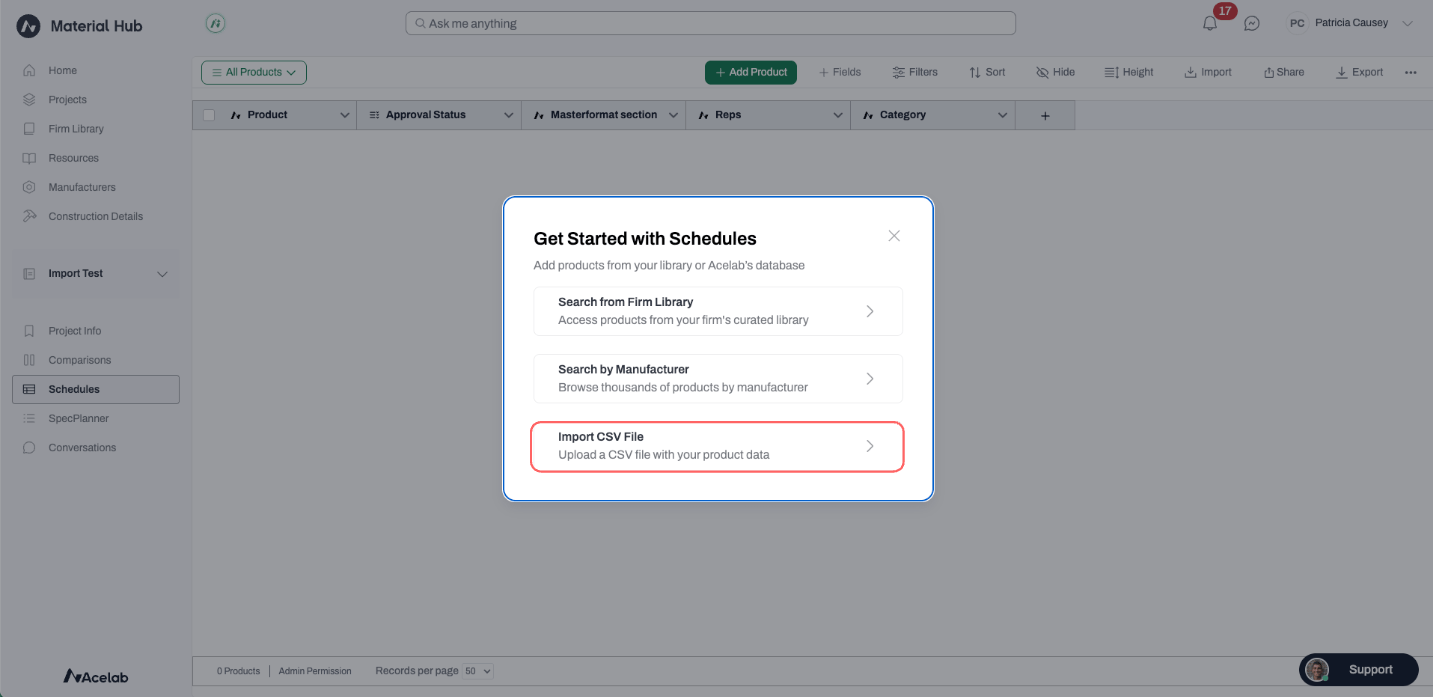
There are two ways to open the CSV import flow, depending on your project state. From an empty schedule:- Open a project with no products scheduled. The Get Started with Schedule modal will appear automatically.
-
Click Import CSV File.
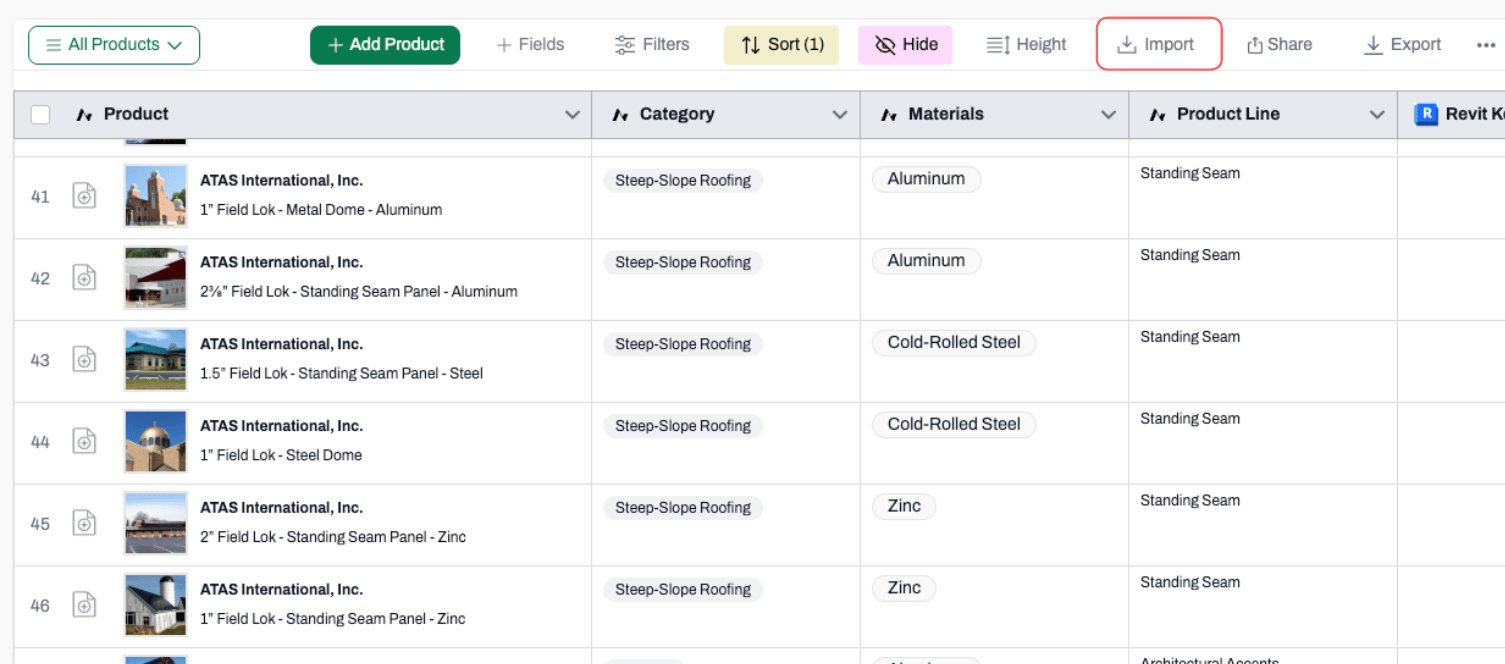
- Open any project schedule.
-
Click the Import button in the schedule toolbar.
Step 1: Upload Your CSV File
-
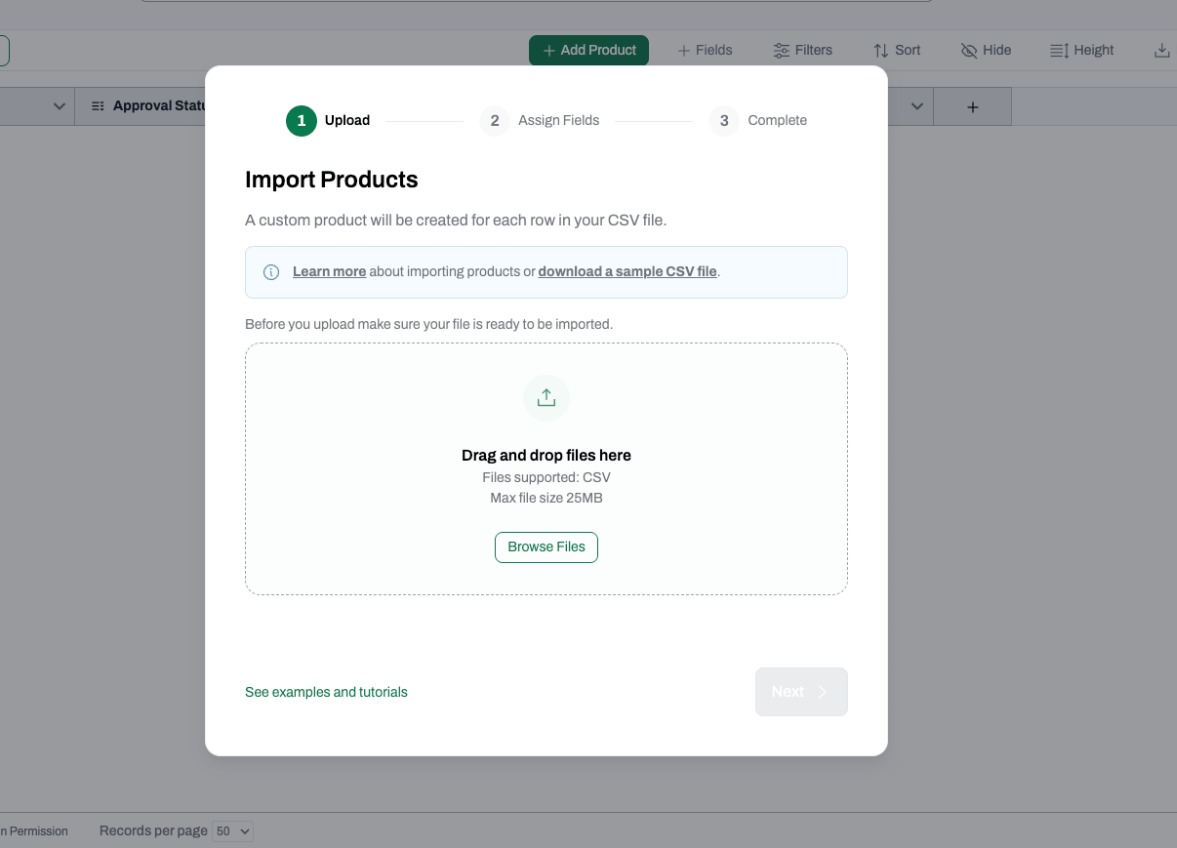
In the Import CSV modal, drag and drop your CSV file onto the upload area, or click Browse File to select a file from your computer.
-
A progress indicator will show upload completion.
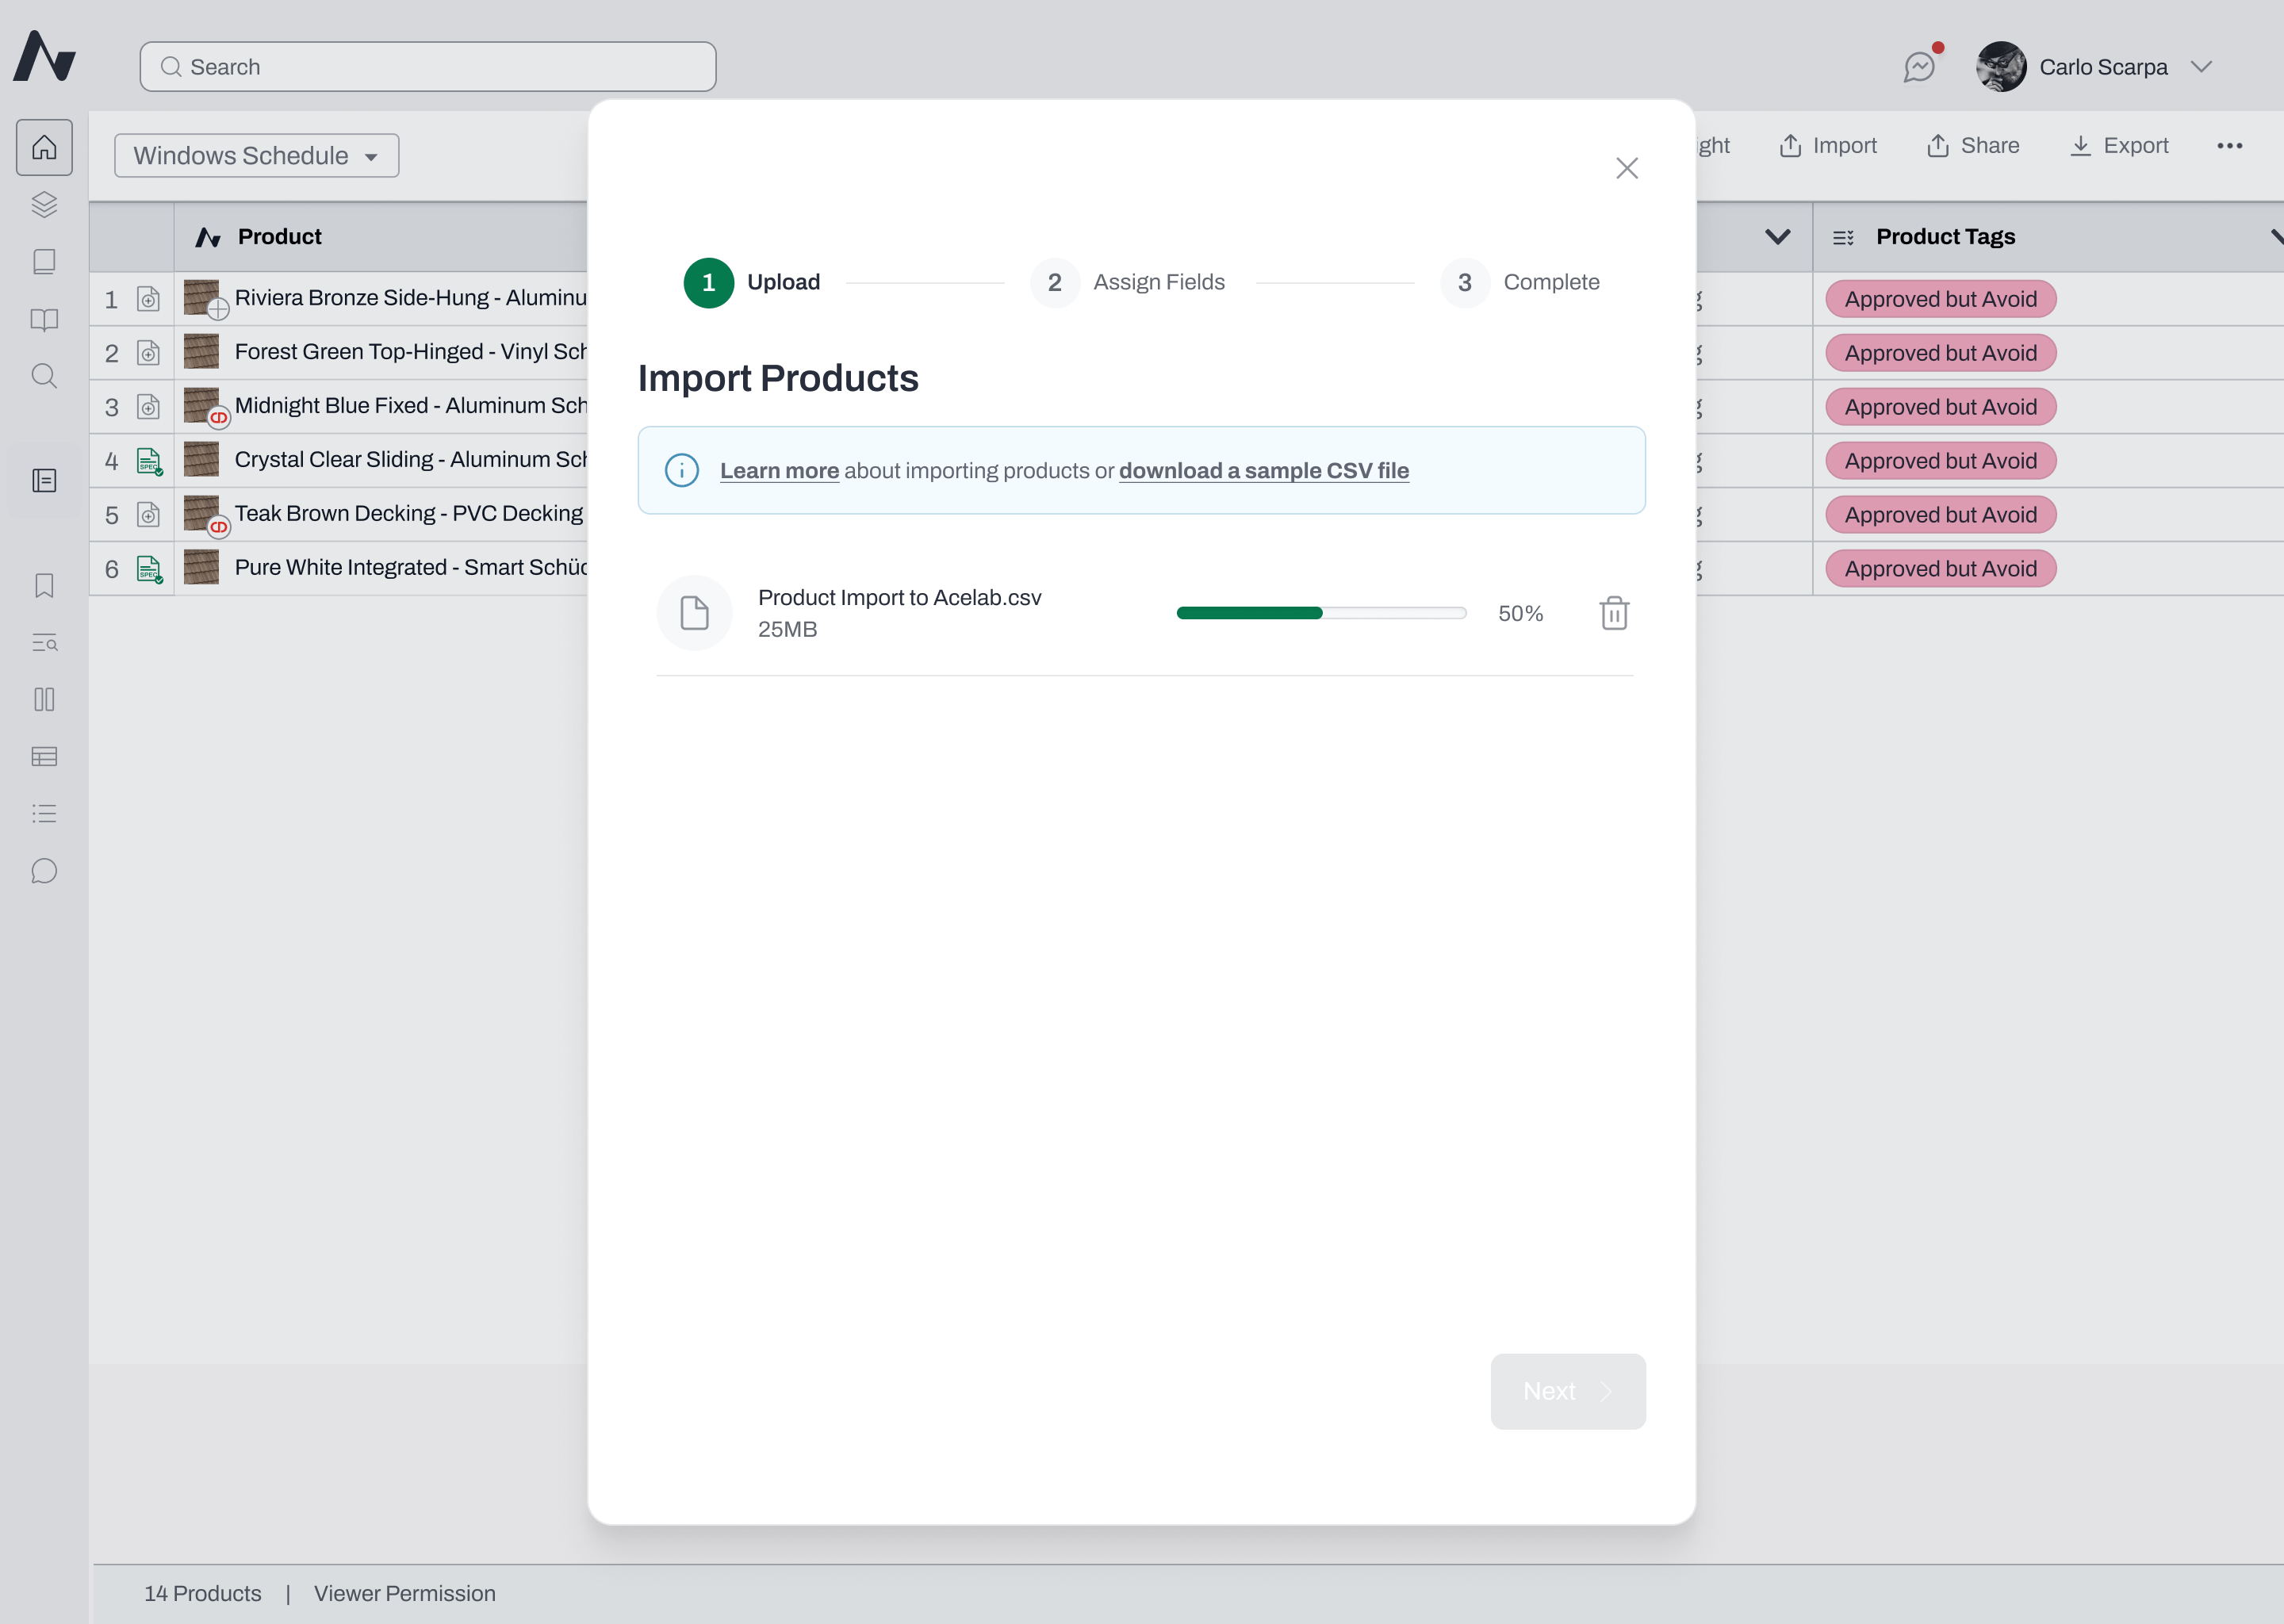
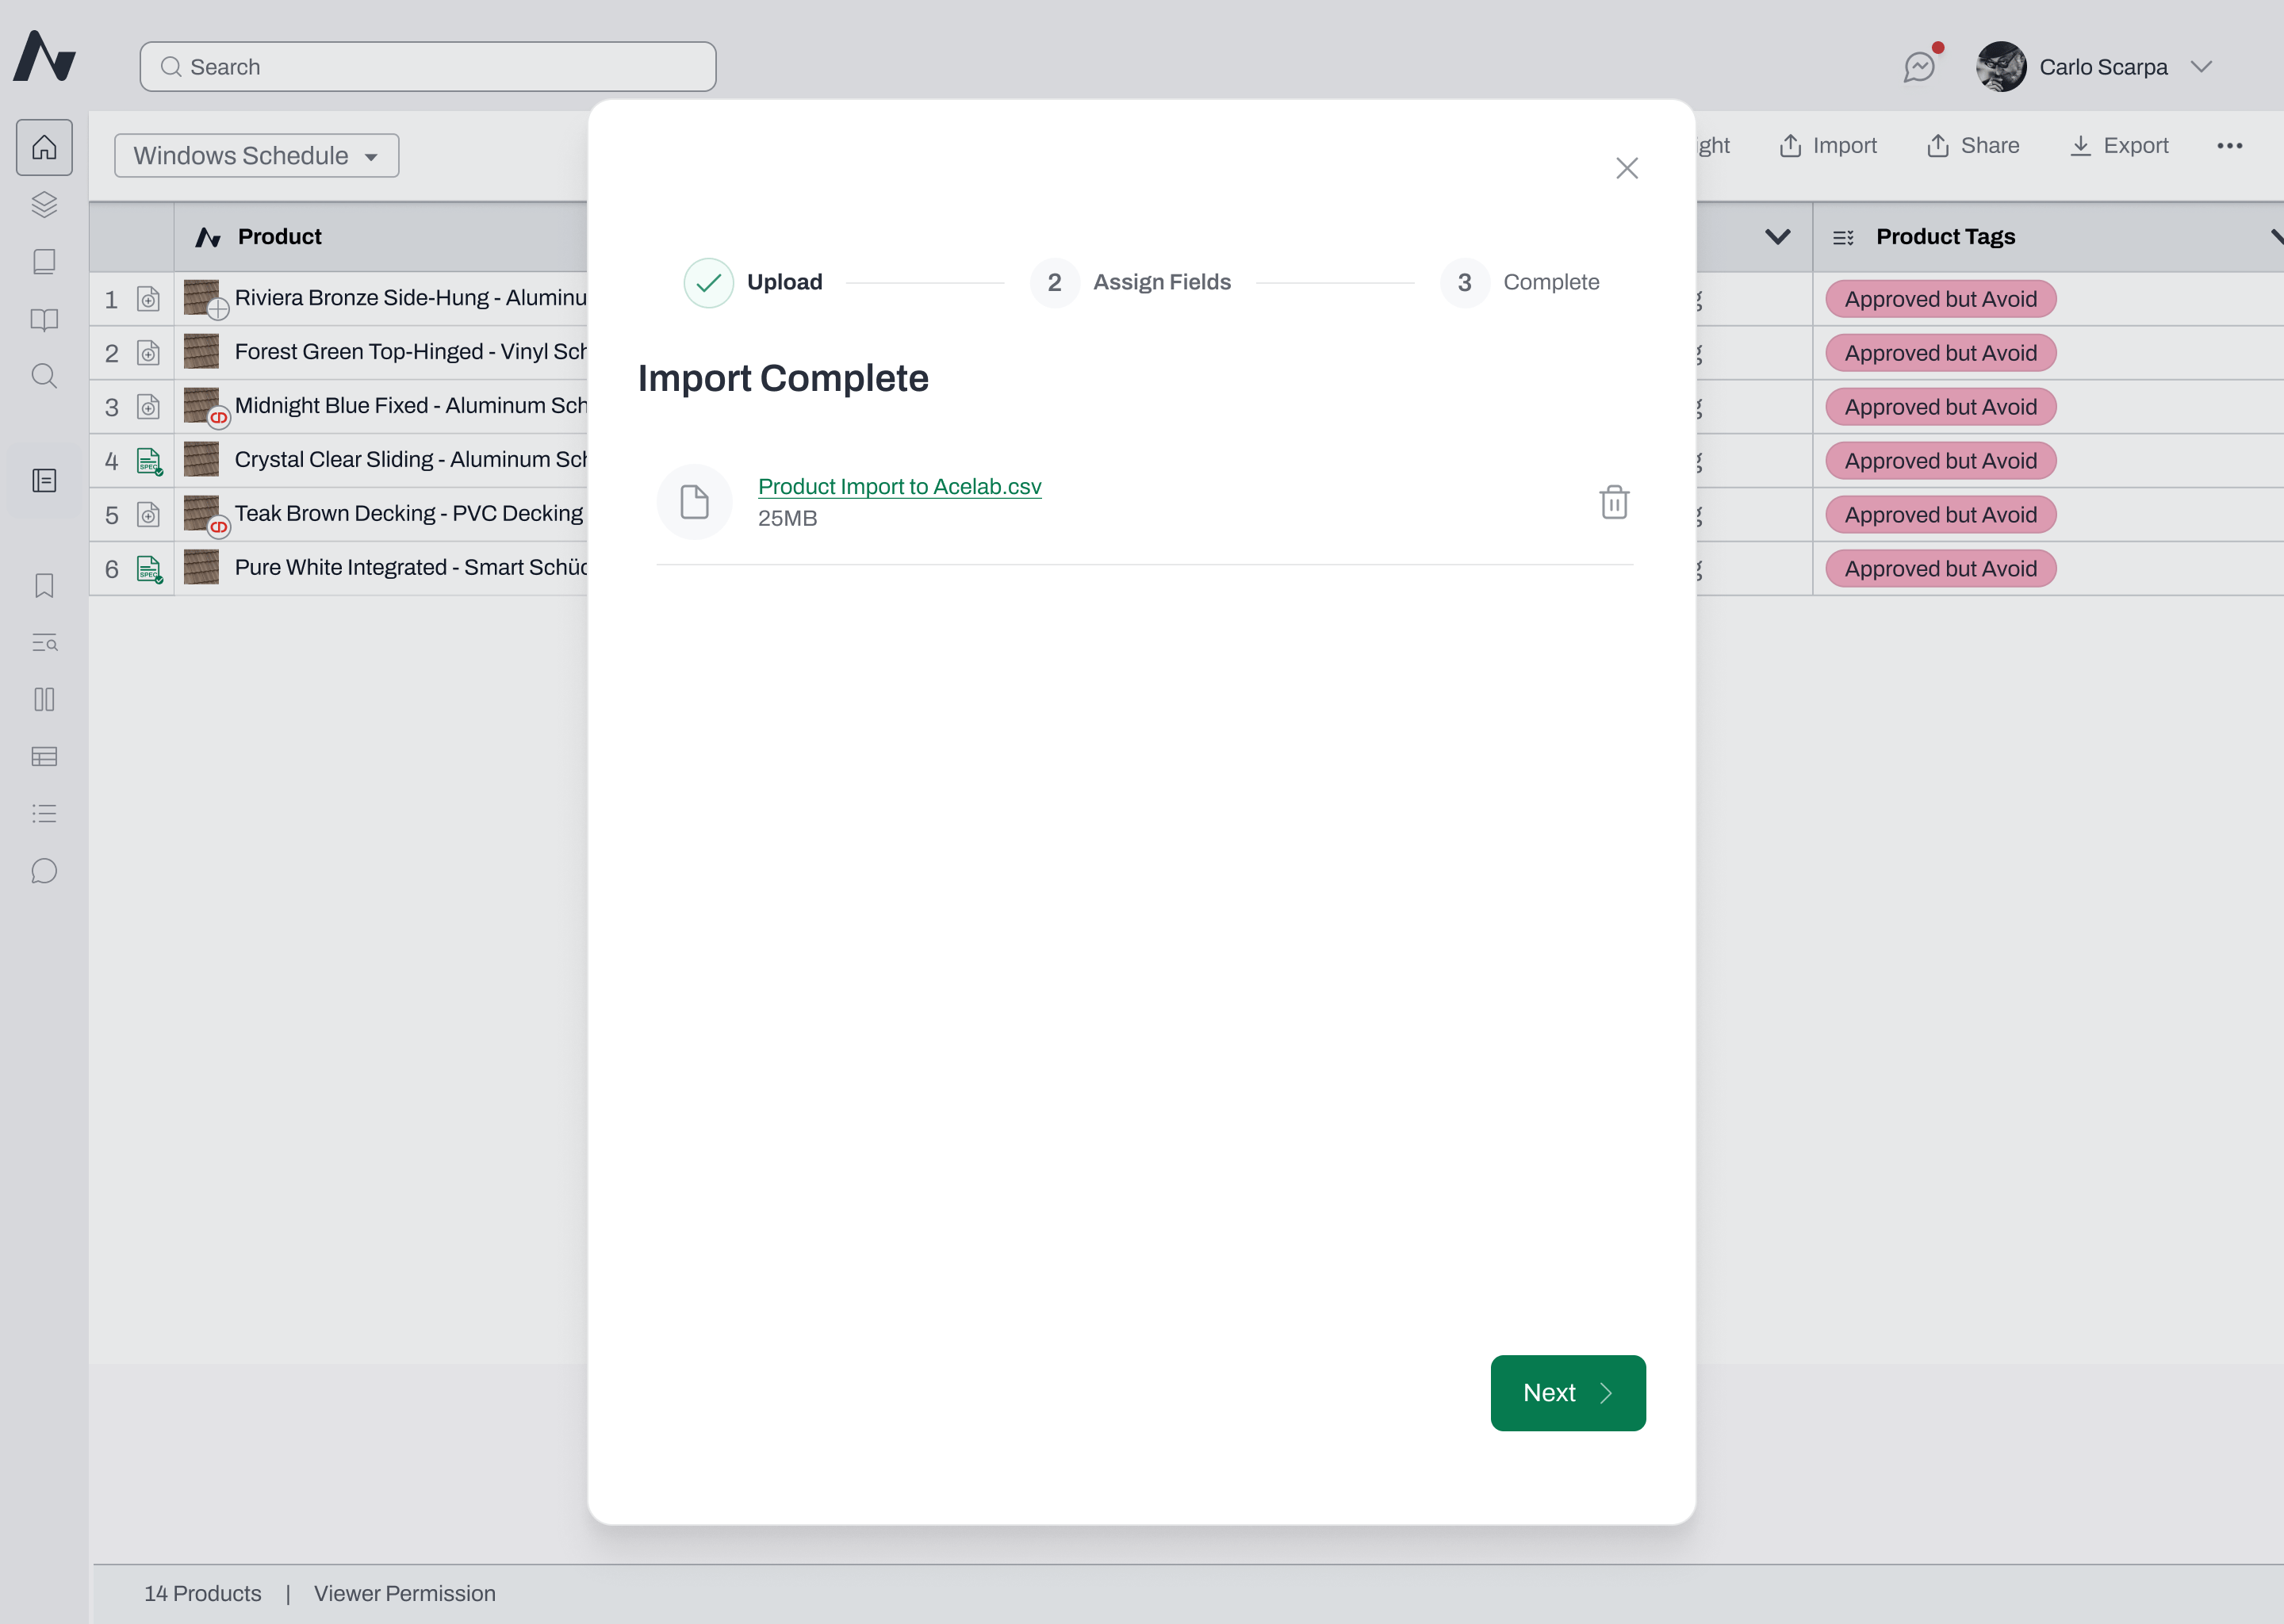
- Once uploaded, the upload area is replaced by a file preview showing the file name, size, and a success indicator.
- To start over, click the delete icon to remove the file and upload a different one.
-
Click Next to proceed. This button stays disabled until the upload is successful.
- “File size exceeds 25MB limit.” — Split your file into smaller files and try again.
- “Invalid file format.” — Only CSV files are supported. Convert your spreadsheet to CSV before uploading.
- “Invalid CSV format.” — Download the sample CSV template from the modal and use it as a reference.
Step 2: Assign Fields
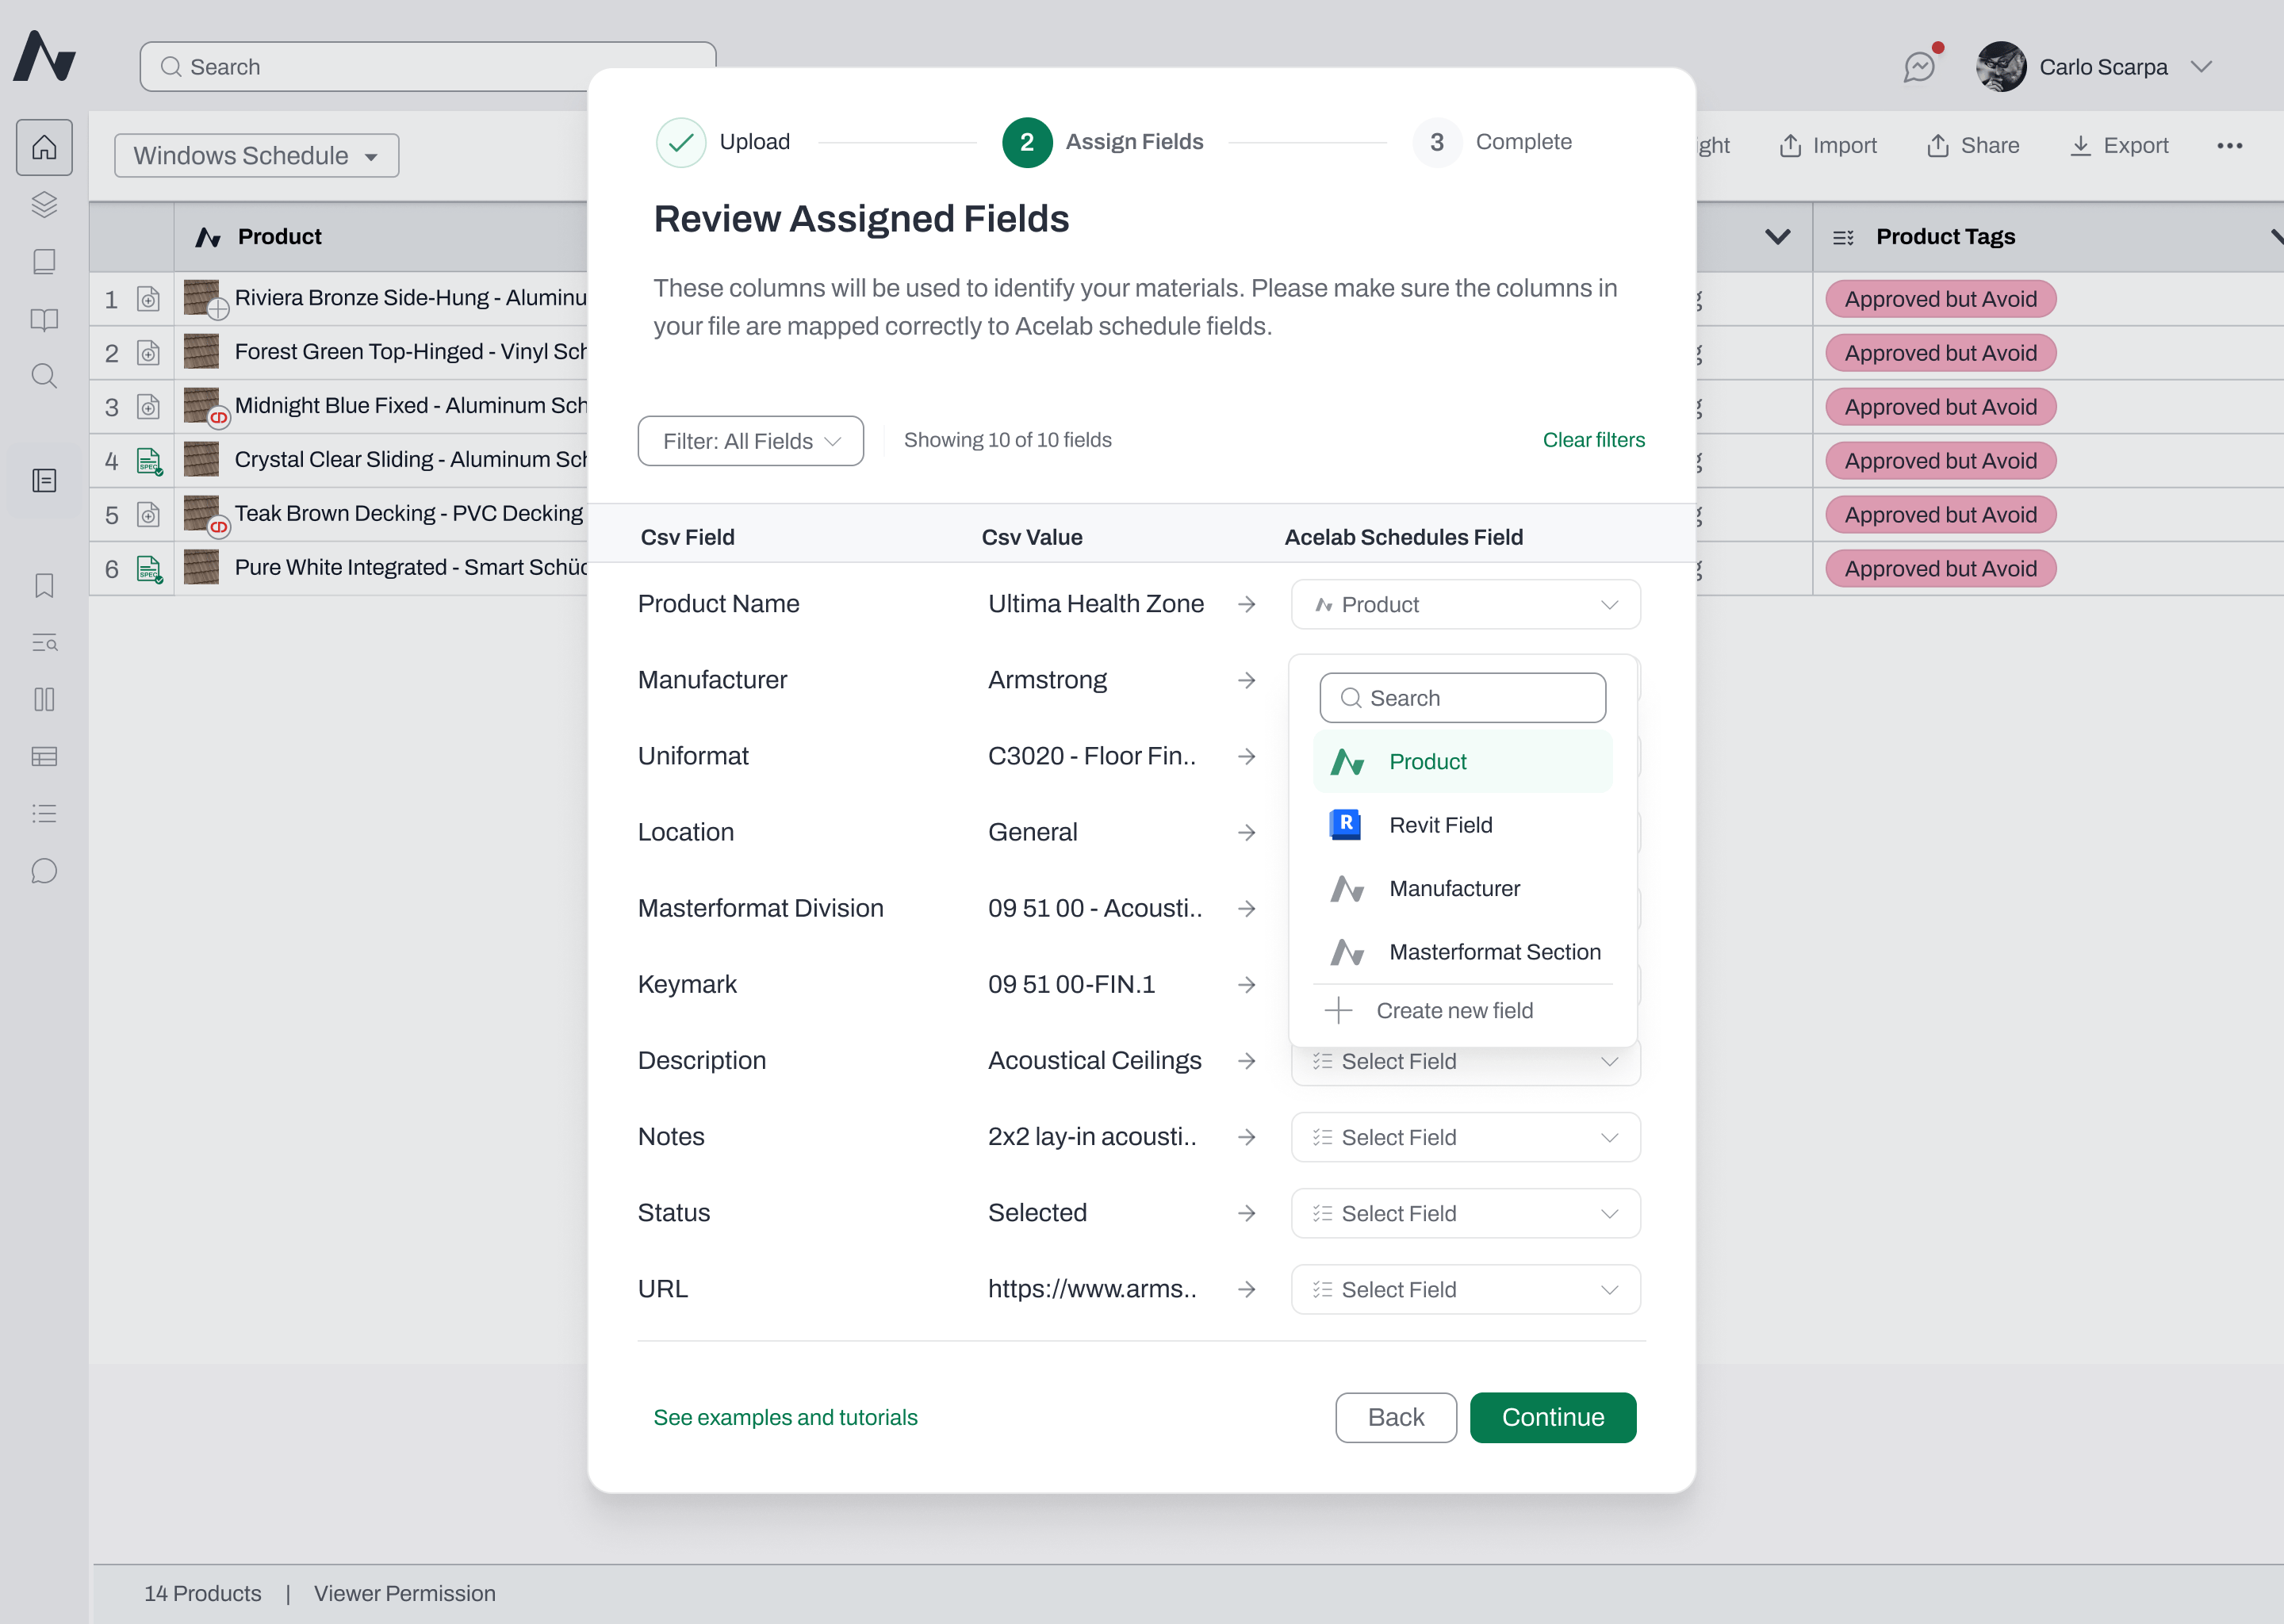
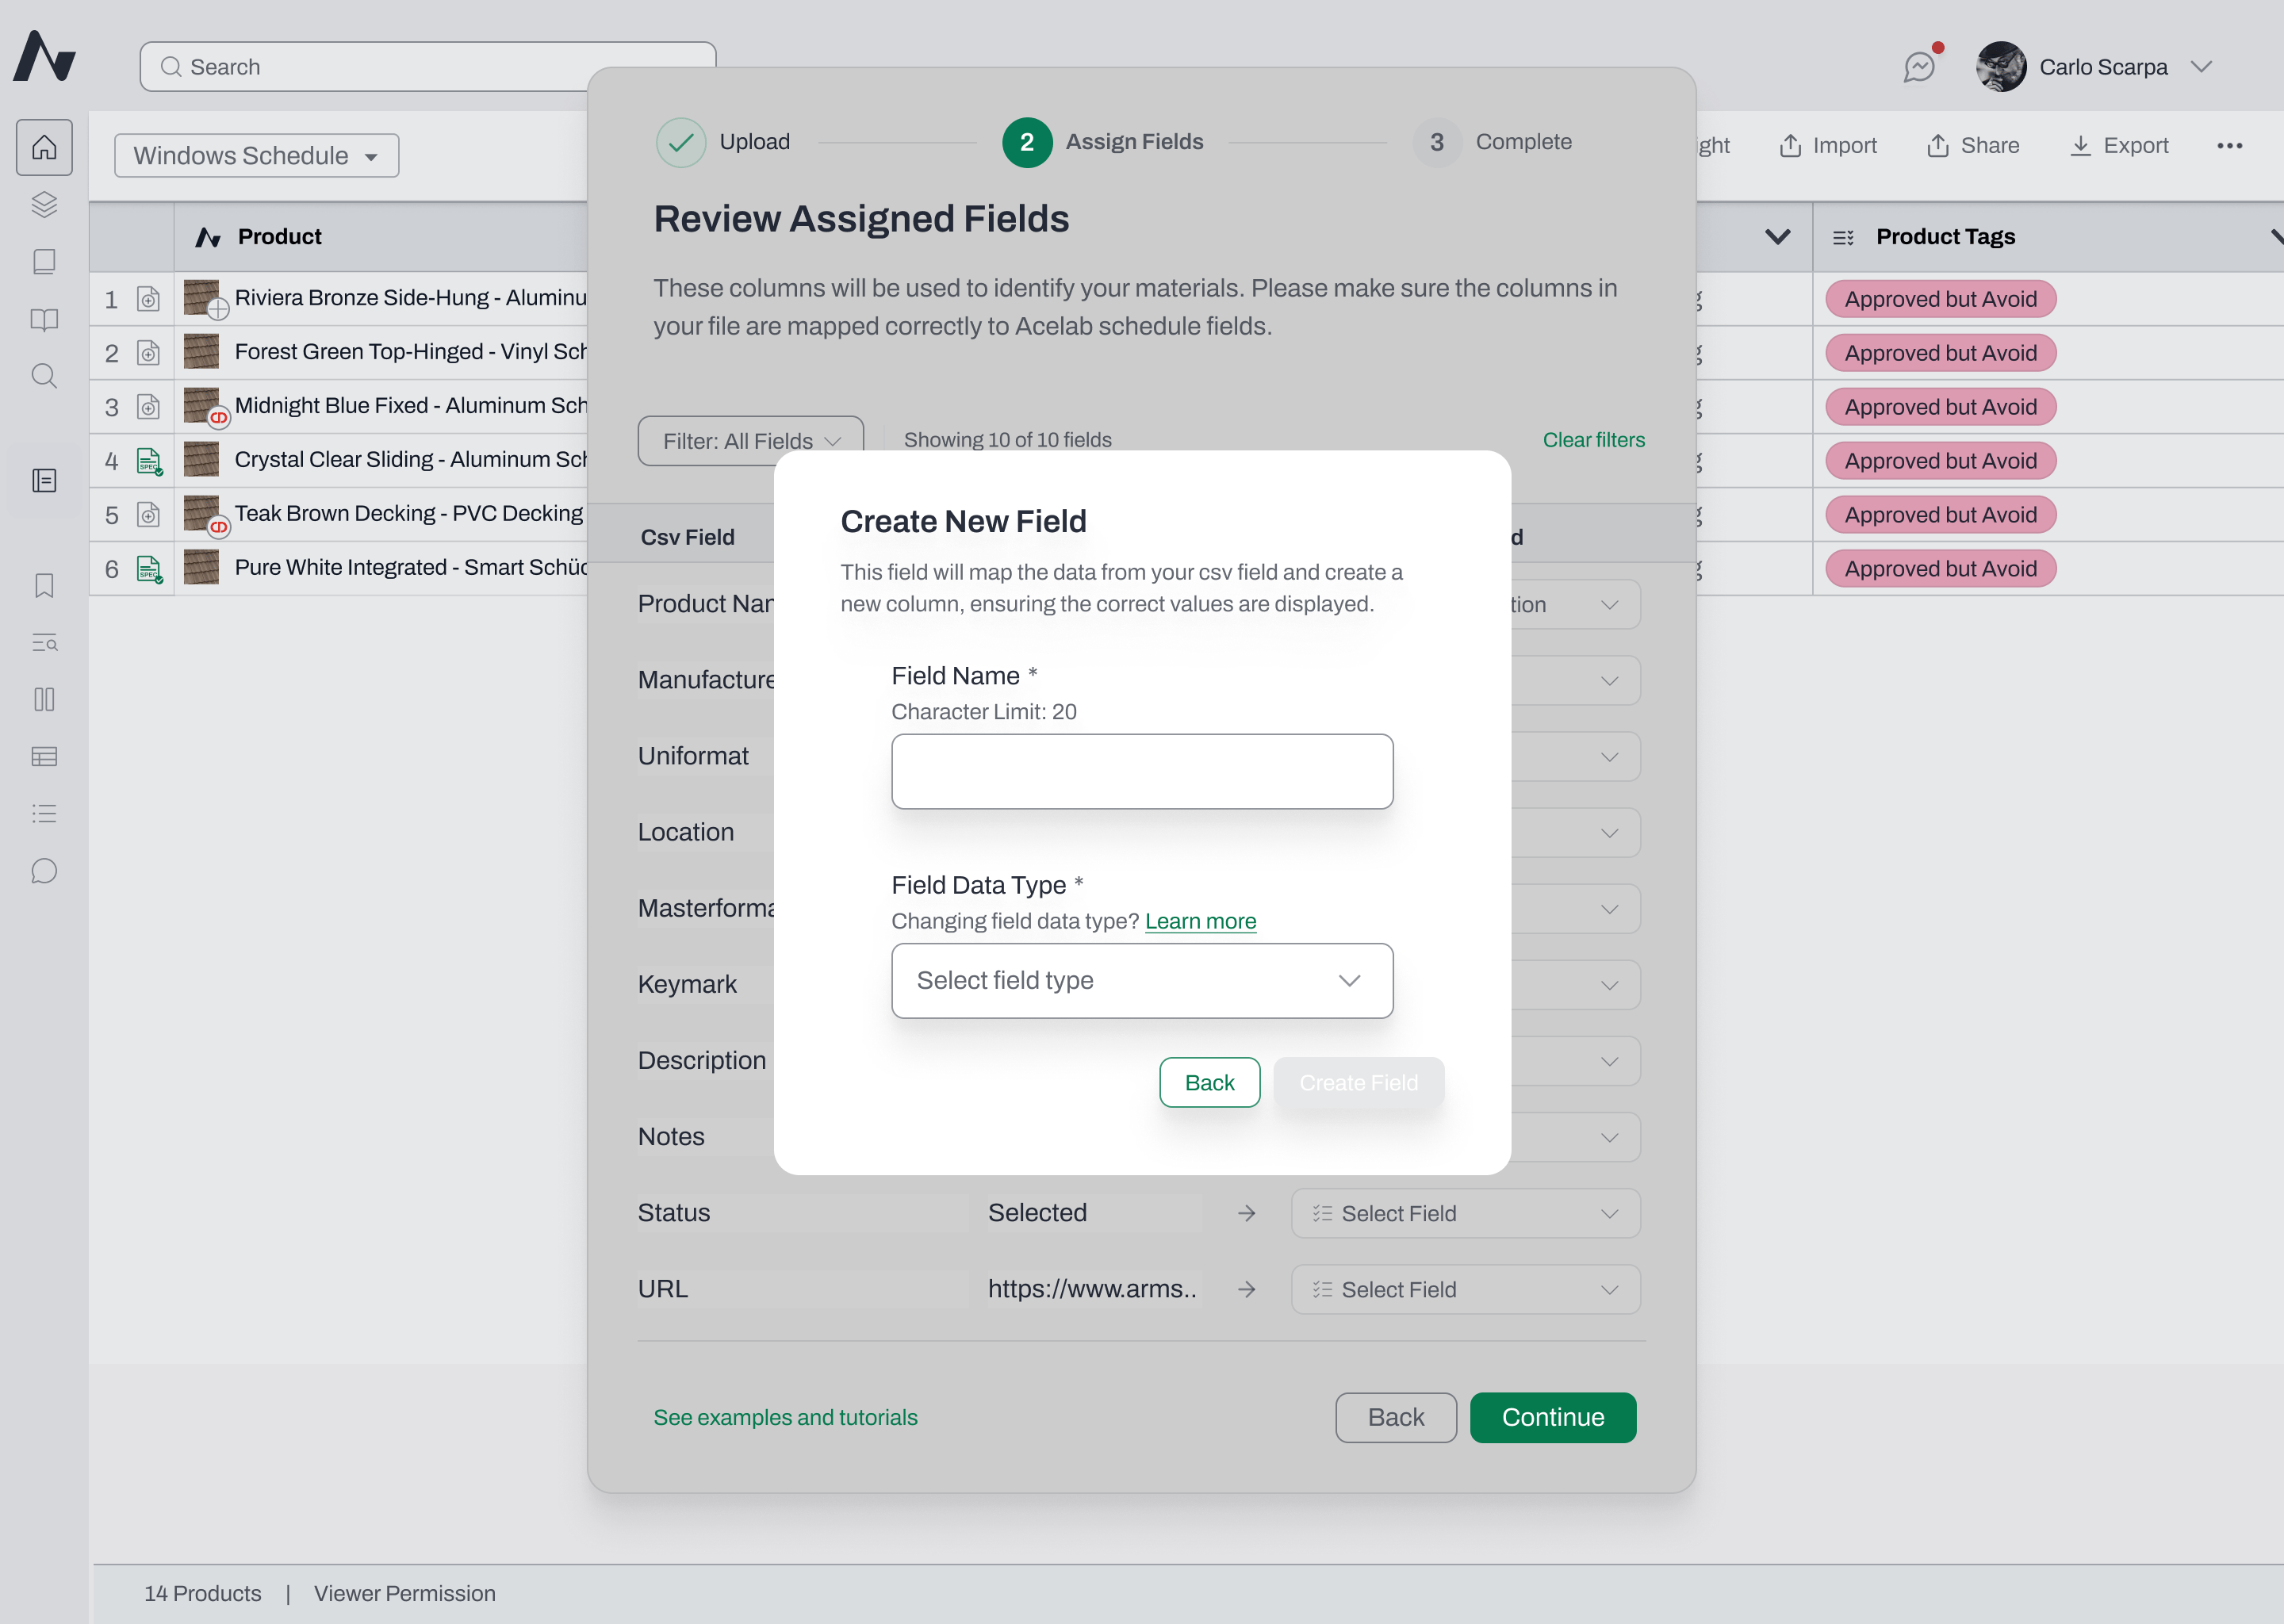
This screen lets you map each column in your CSV to a field in your Acelab schedule.-
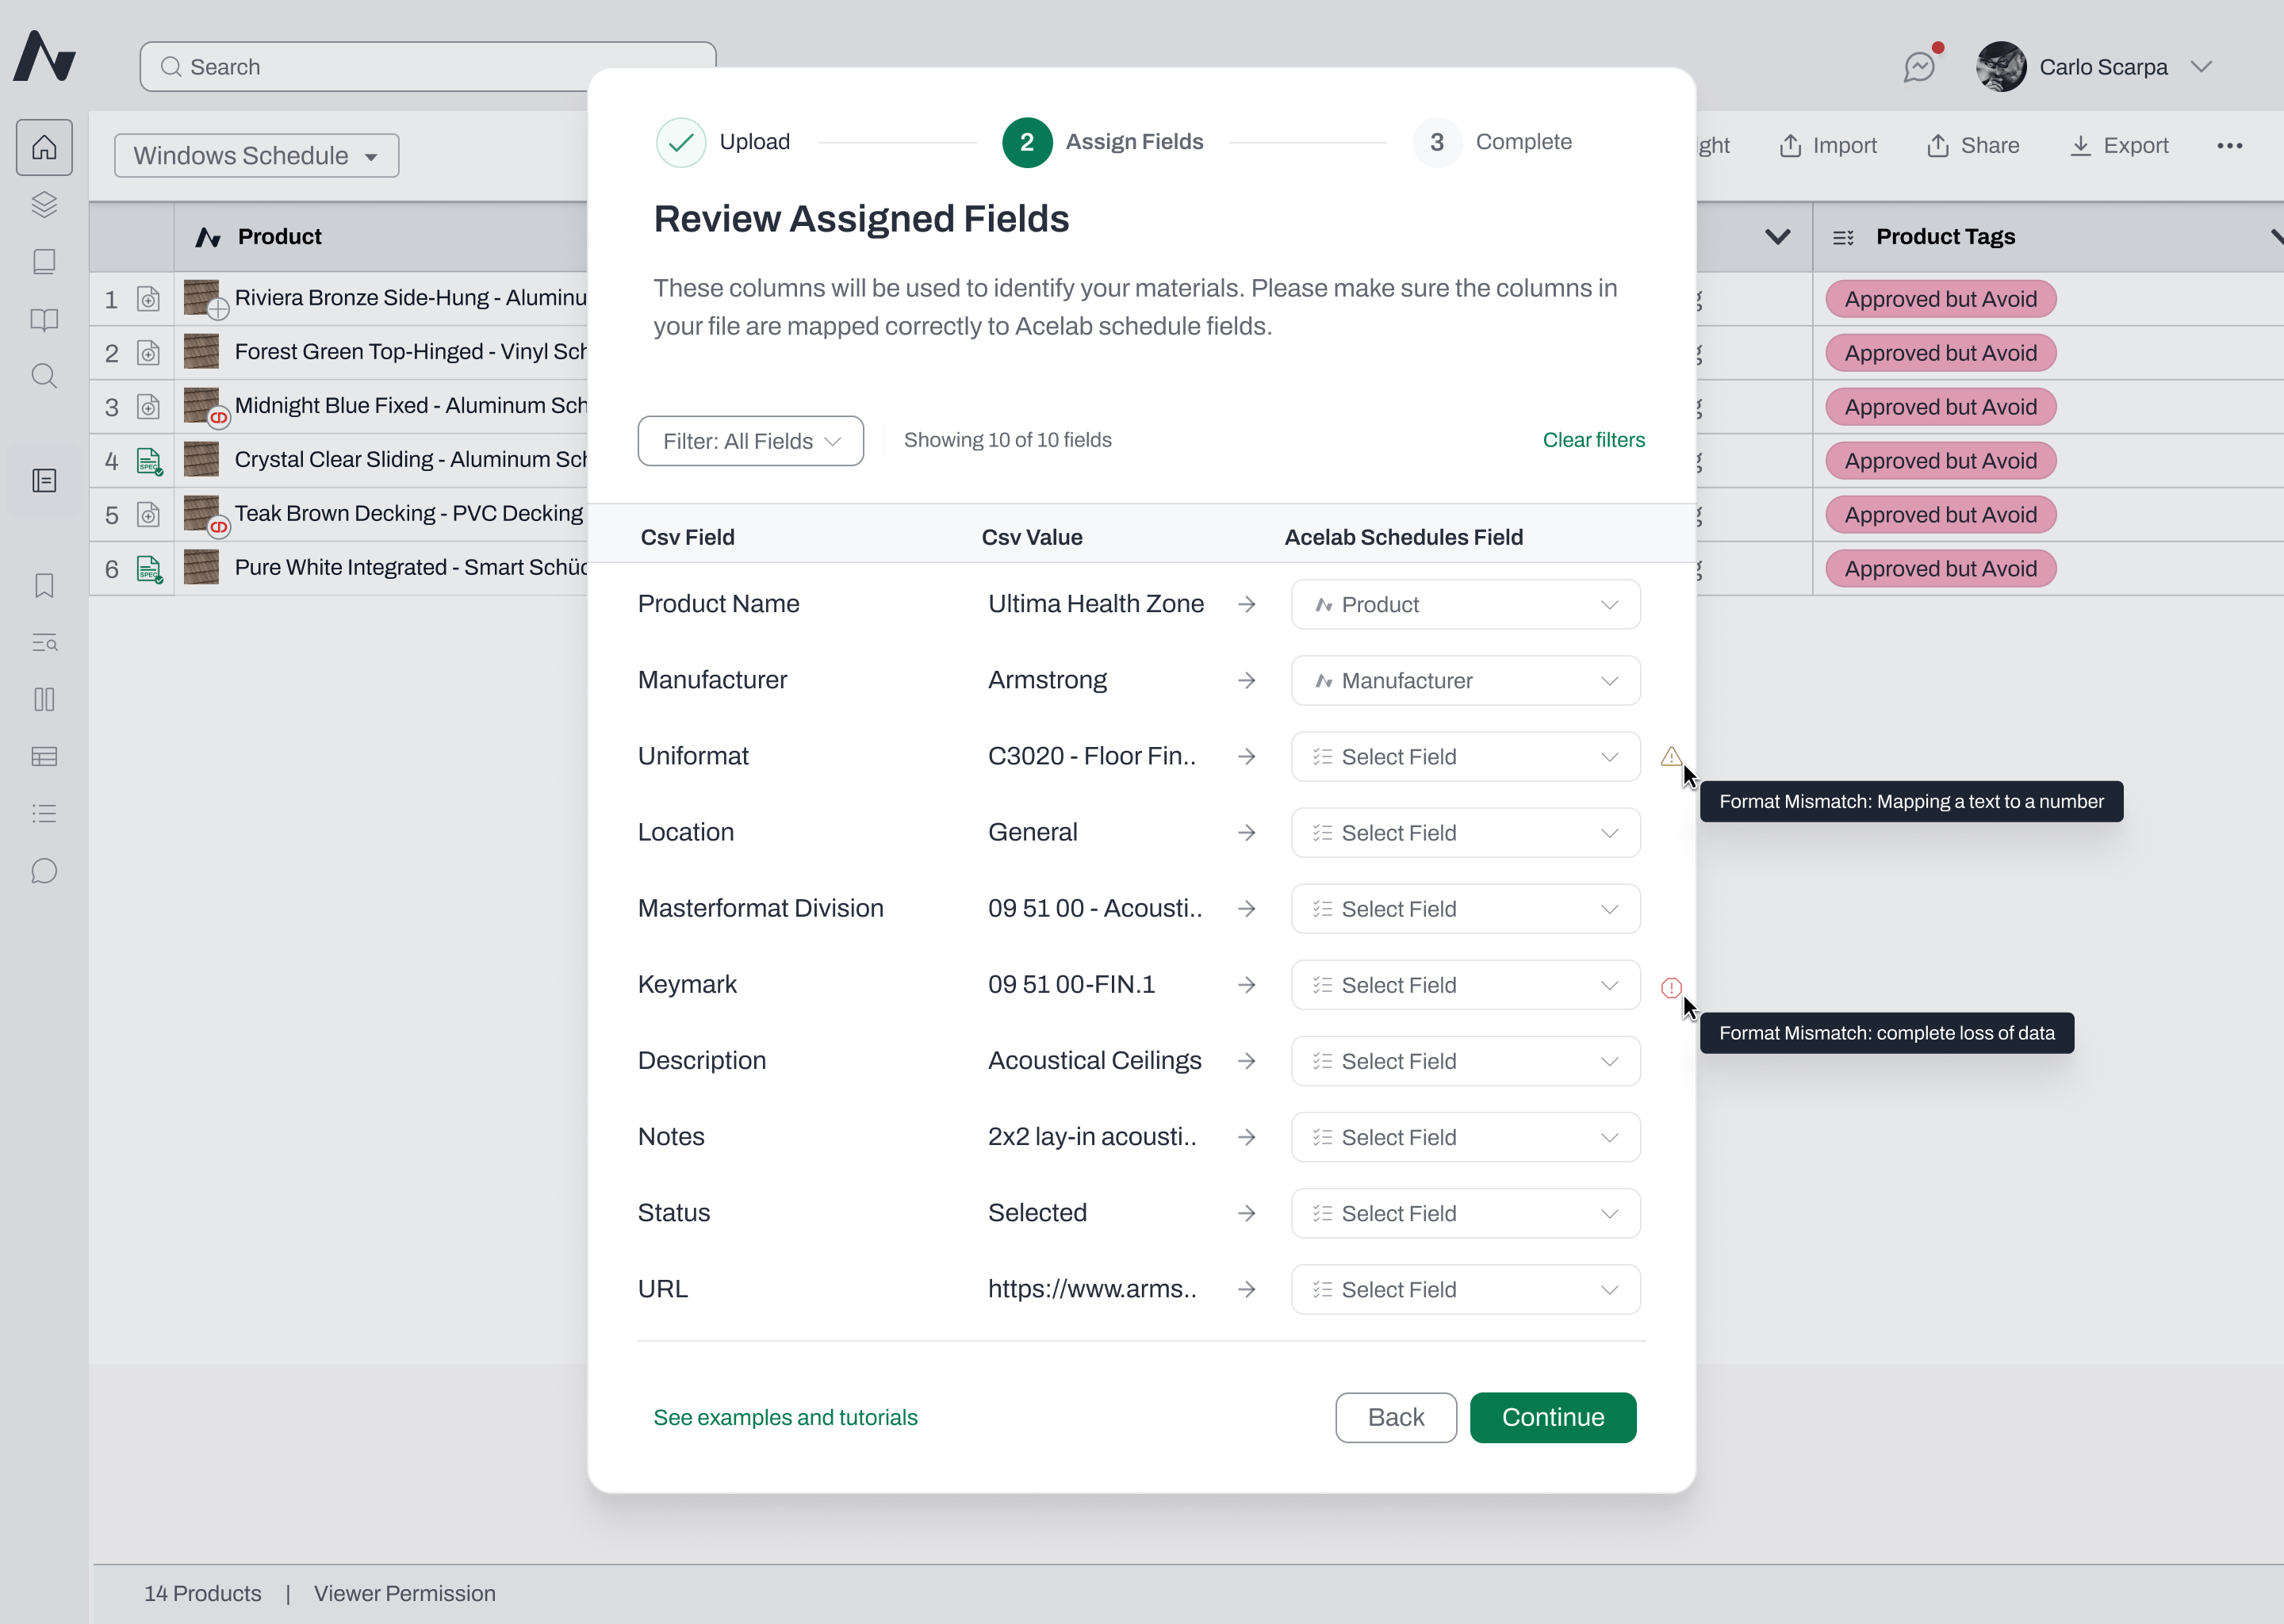
Review the mapping table, which shows three columns: CSV Field, Sample Values, and Acelab Schedule Field.
-
Use the dropdown in the Acelab Schedule Field column to assign a field to each CSV column. Available fields include Product Name, Manufacturer Name, URL, and any custom project or company fields.
Notes:
- Once a field is assigned to one column, it is removed from the dropdowns for all other columns to prevent duplicates.
- Mapping a CSV field to Acelab’s MasterFormat Section field is currently unavailable in this feature. If you have a CSV field related to the MasterFormat Section field and you want to import it in your schedule, you will need to create a new field in your schedule to map this CSV field to. See below on how to create a new field during import.
-
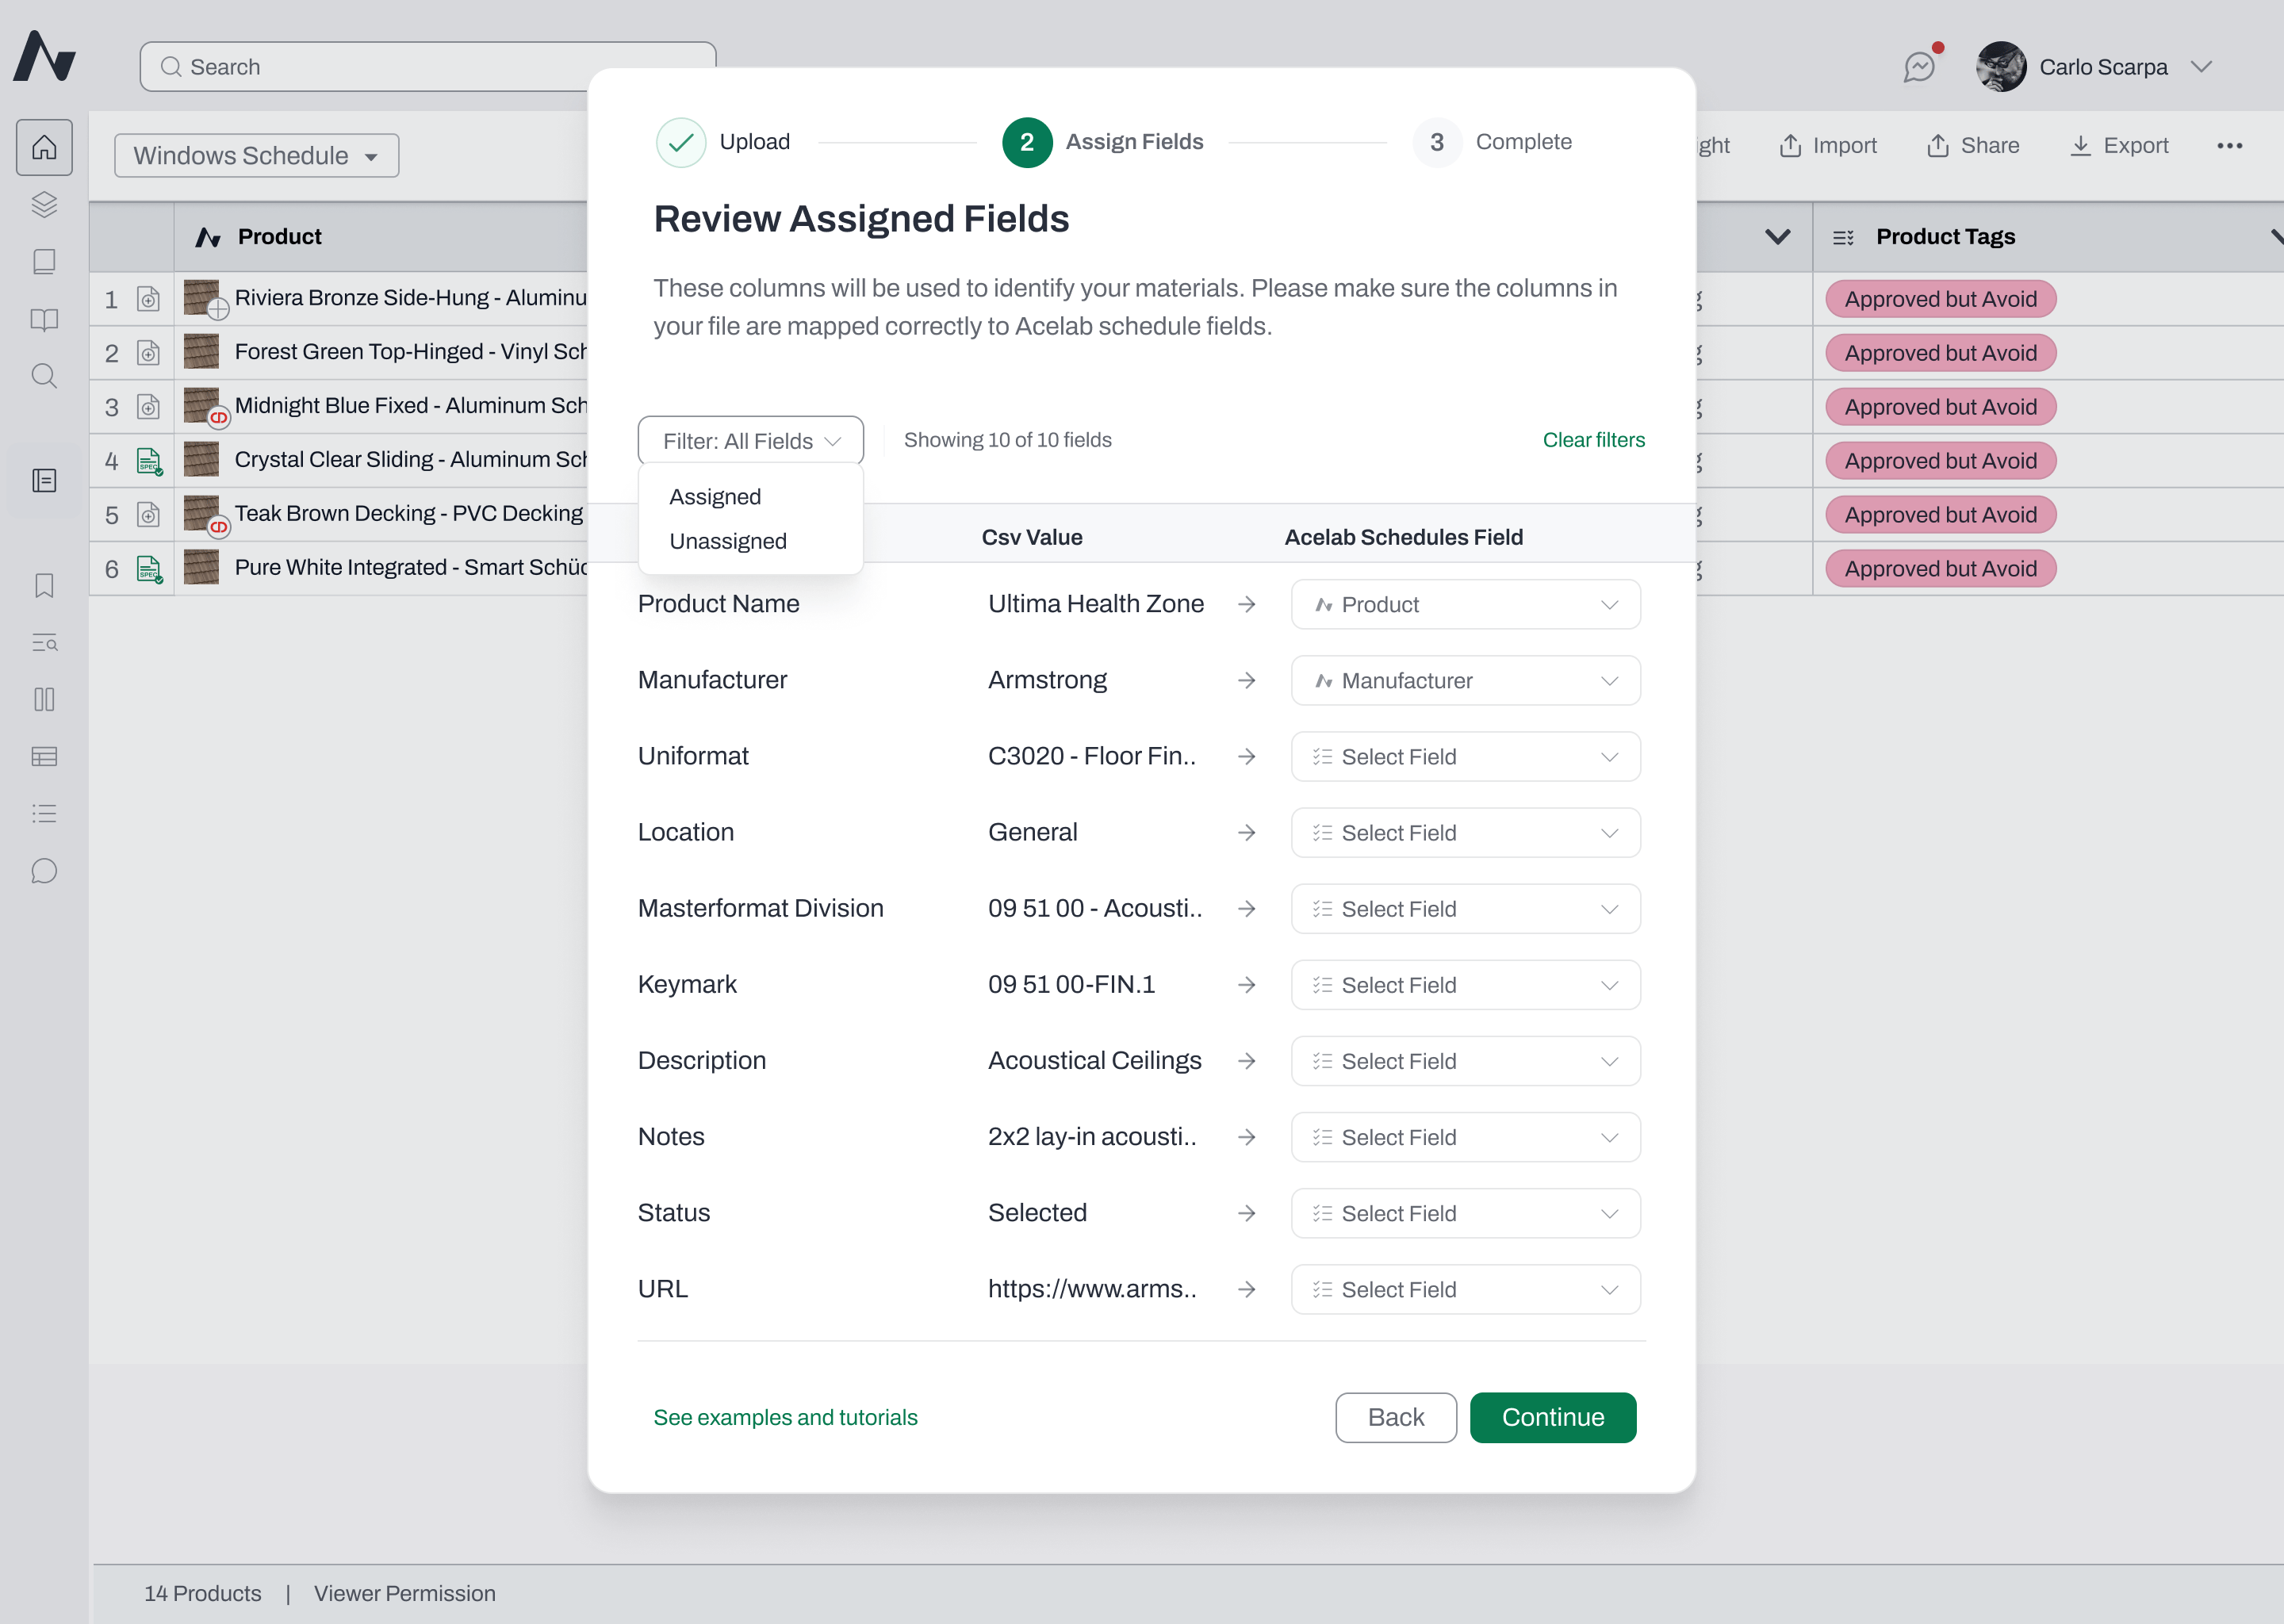
Use the Filter dropdown to view All Fields, Assigned fields only, or Unassigned fields only. The field counter updates to reflect what you’re viewing.
- Click Continue once at least one field is mapped.
Step 3: Review Unmapped Fields
After clicking Continue, you’ll see a summary of any CSV columns that weren’t mapped to an Acelab field.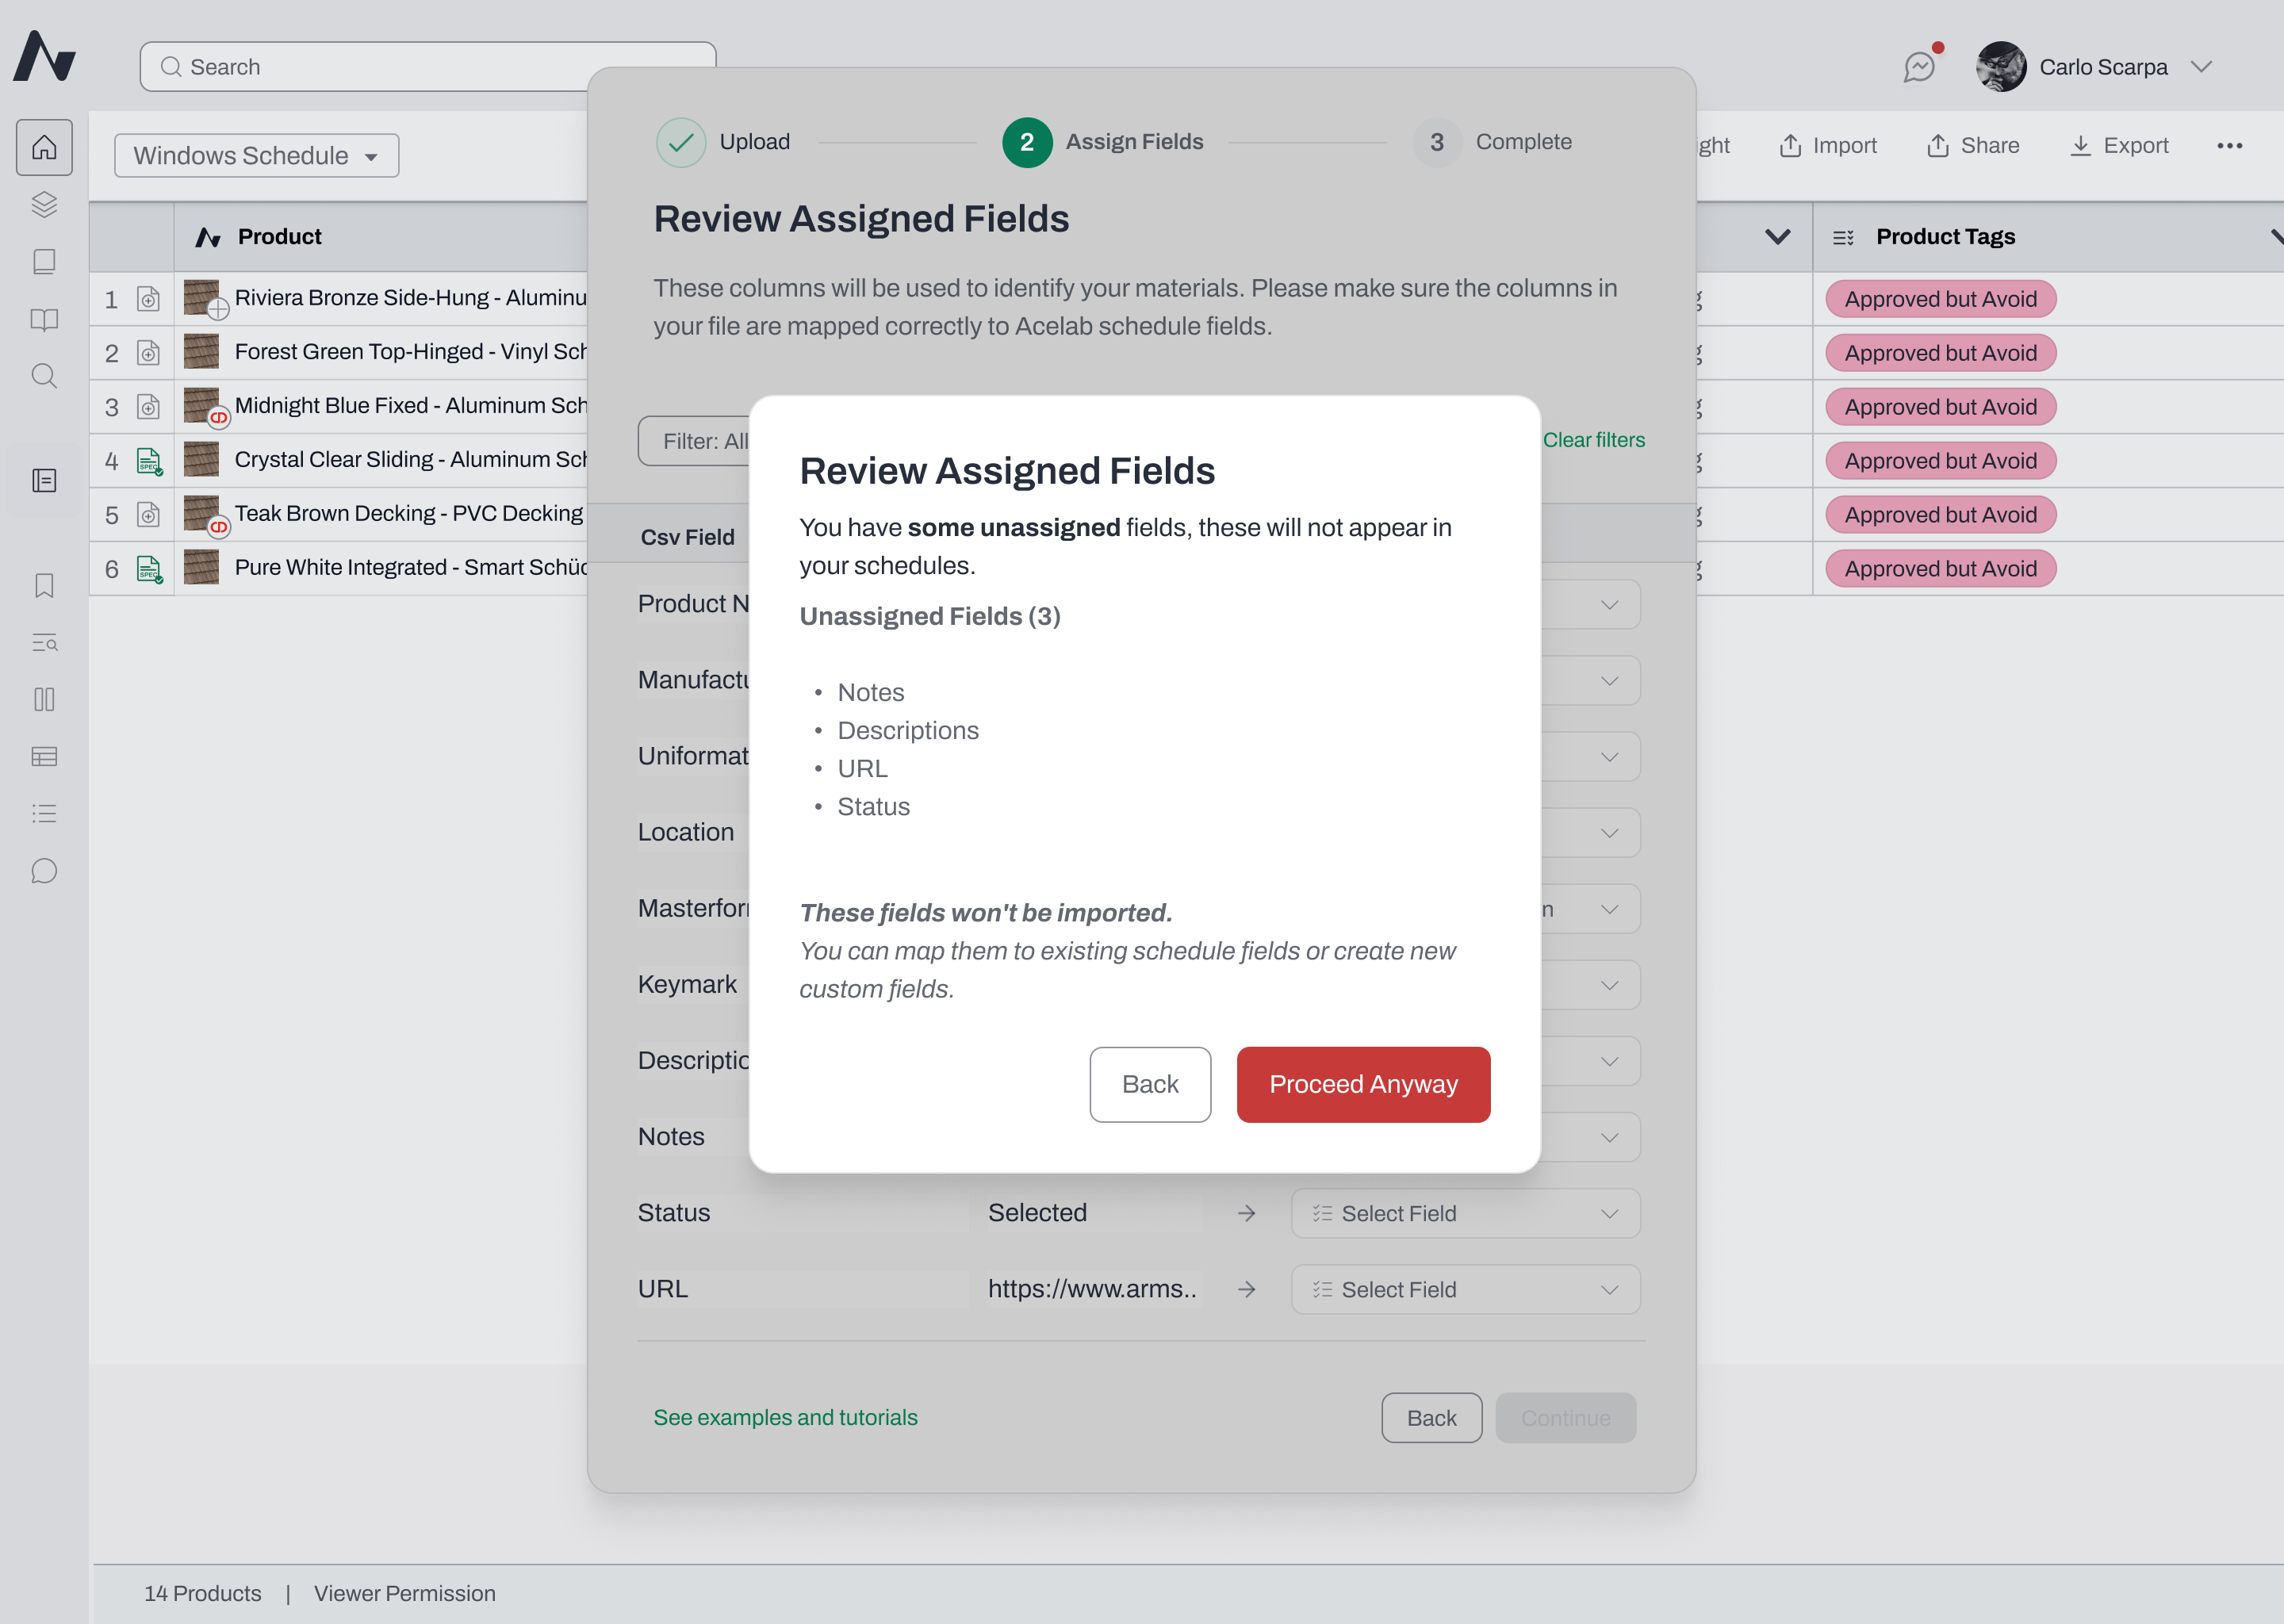
- Unmapped columns will not be imported — that data will be ignored.
- To go back and map additional fields, click Back.
- To continue without mapping them, click Proceed Anyway.
Step 4: Import Progress and Completion
-
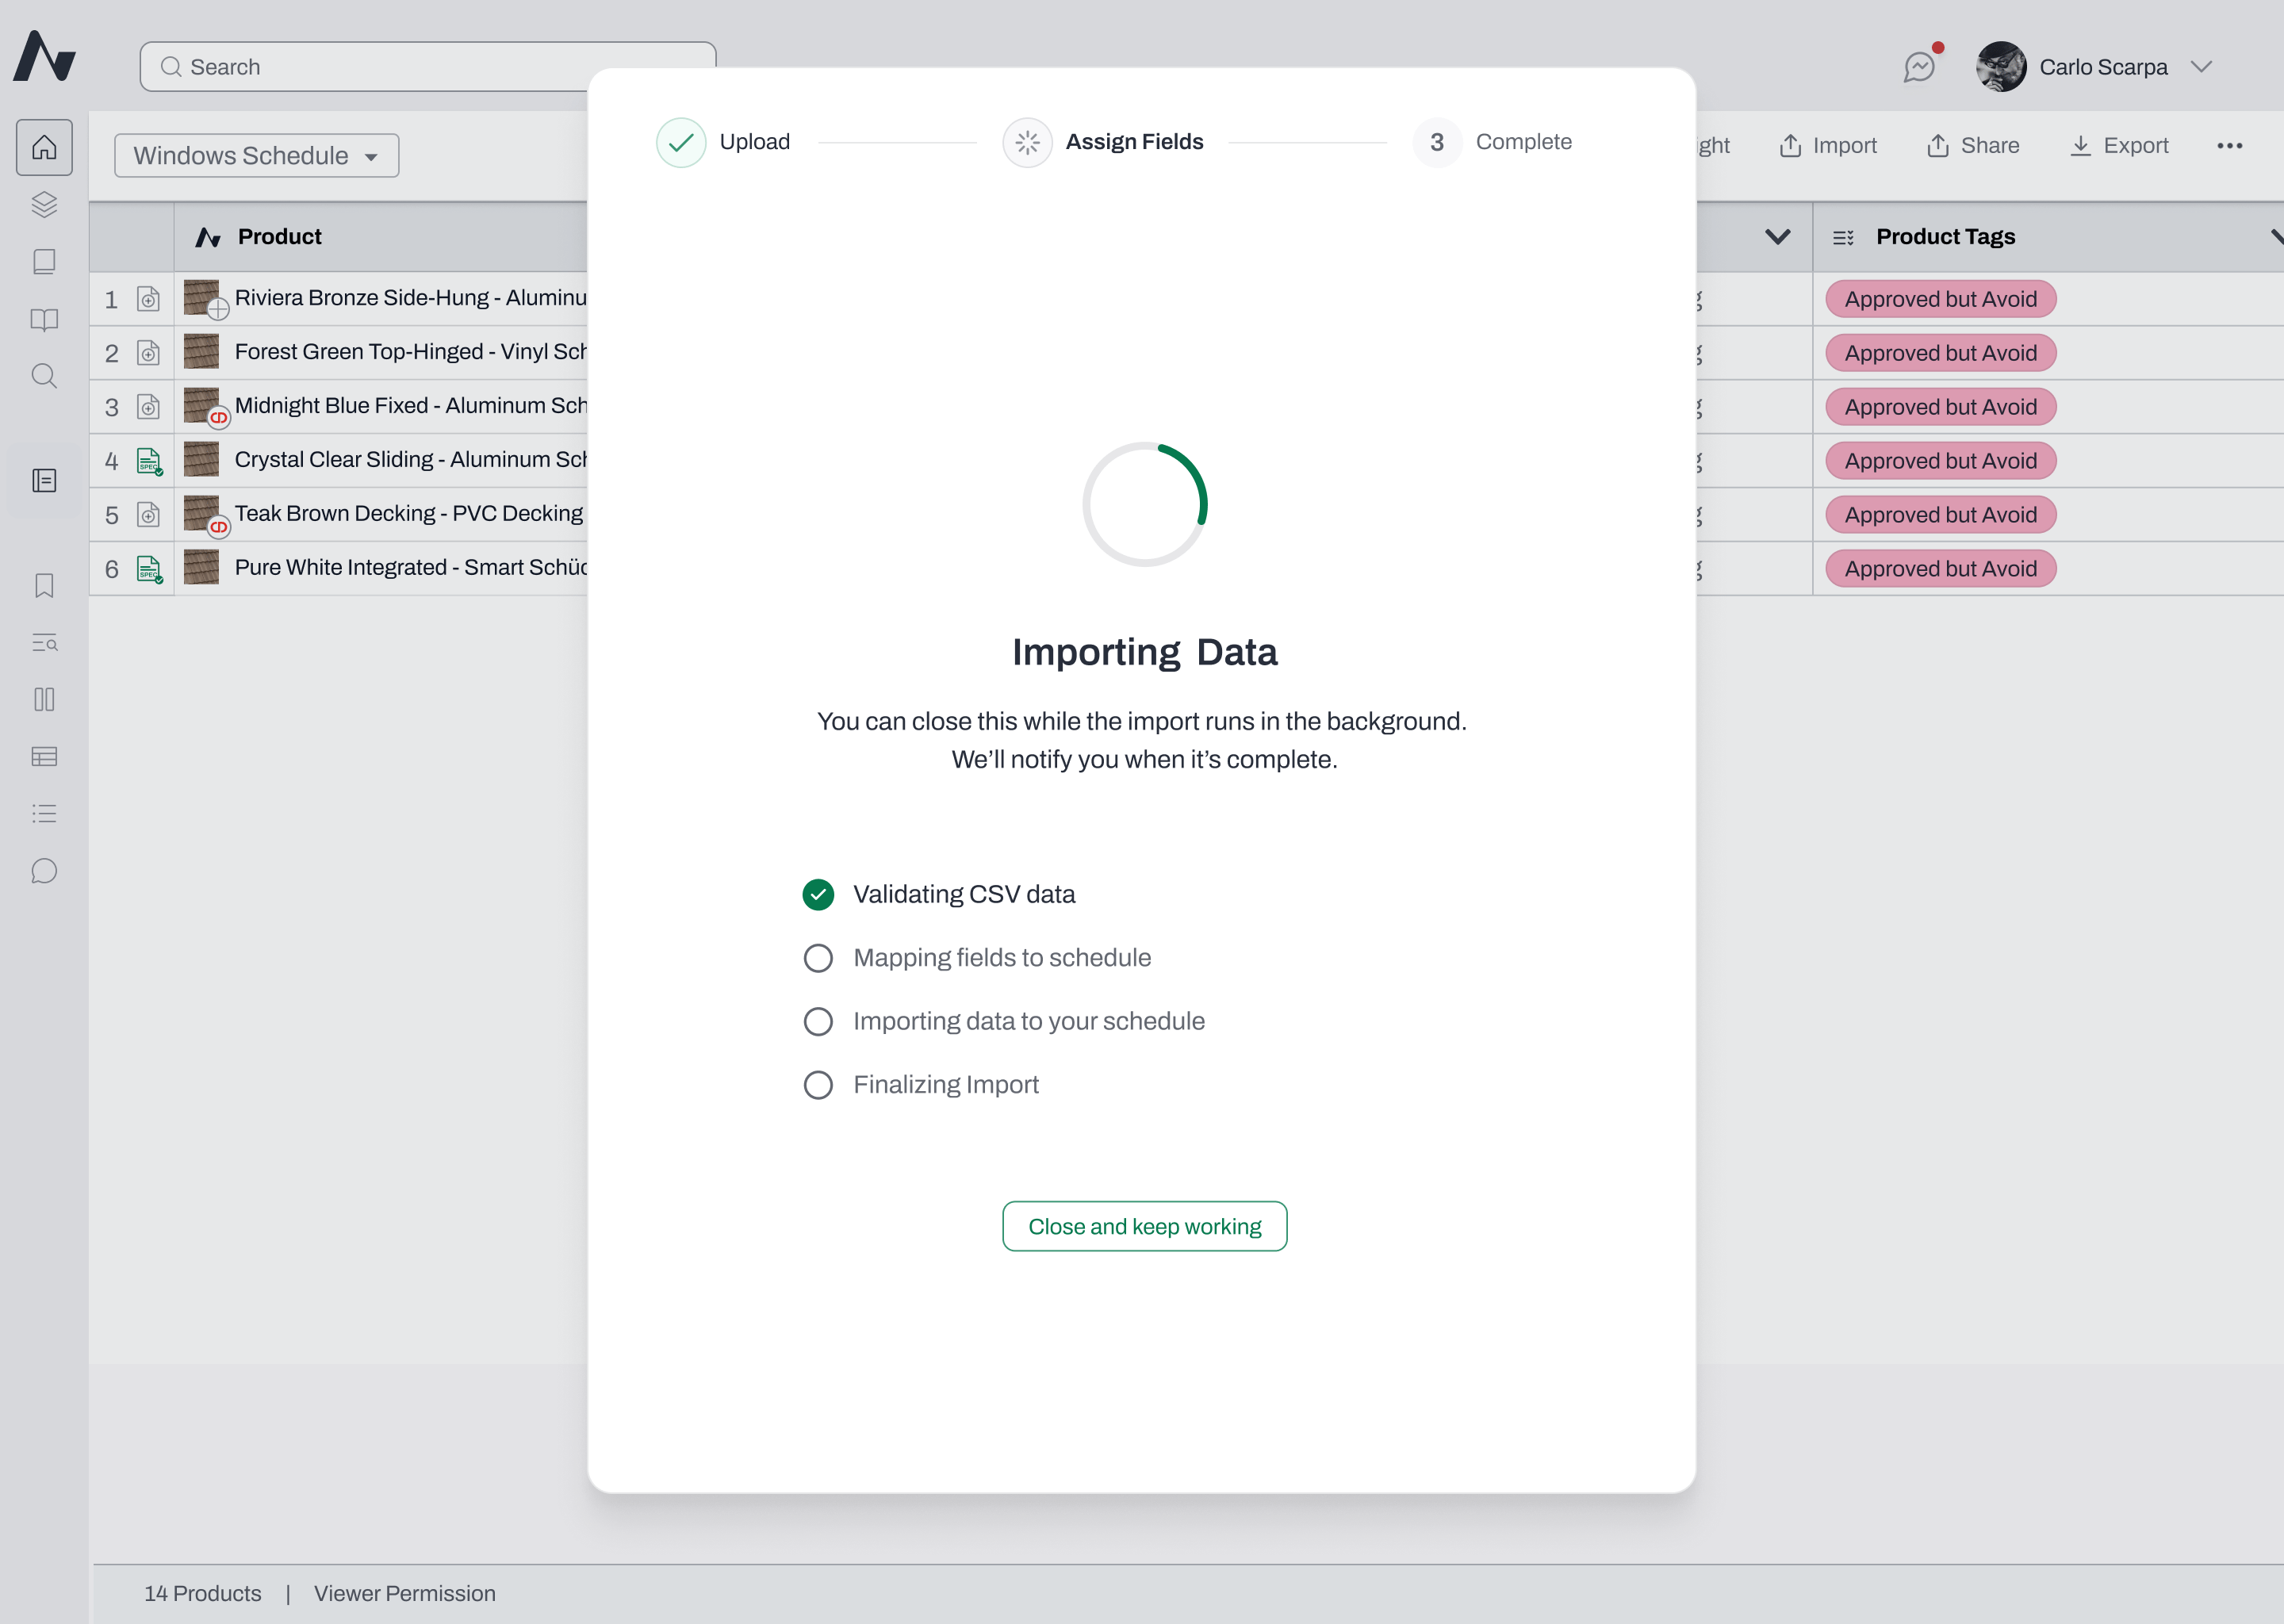
After clicking Proceed Anyway, a loading screen will appear while your products are being created. You can close the modal — the import will continue processing in the background.
-
Once complete, you’ll see a success screen with a View Schedule button. A notification will also appear with a link to your schedule.
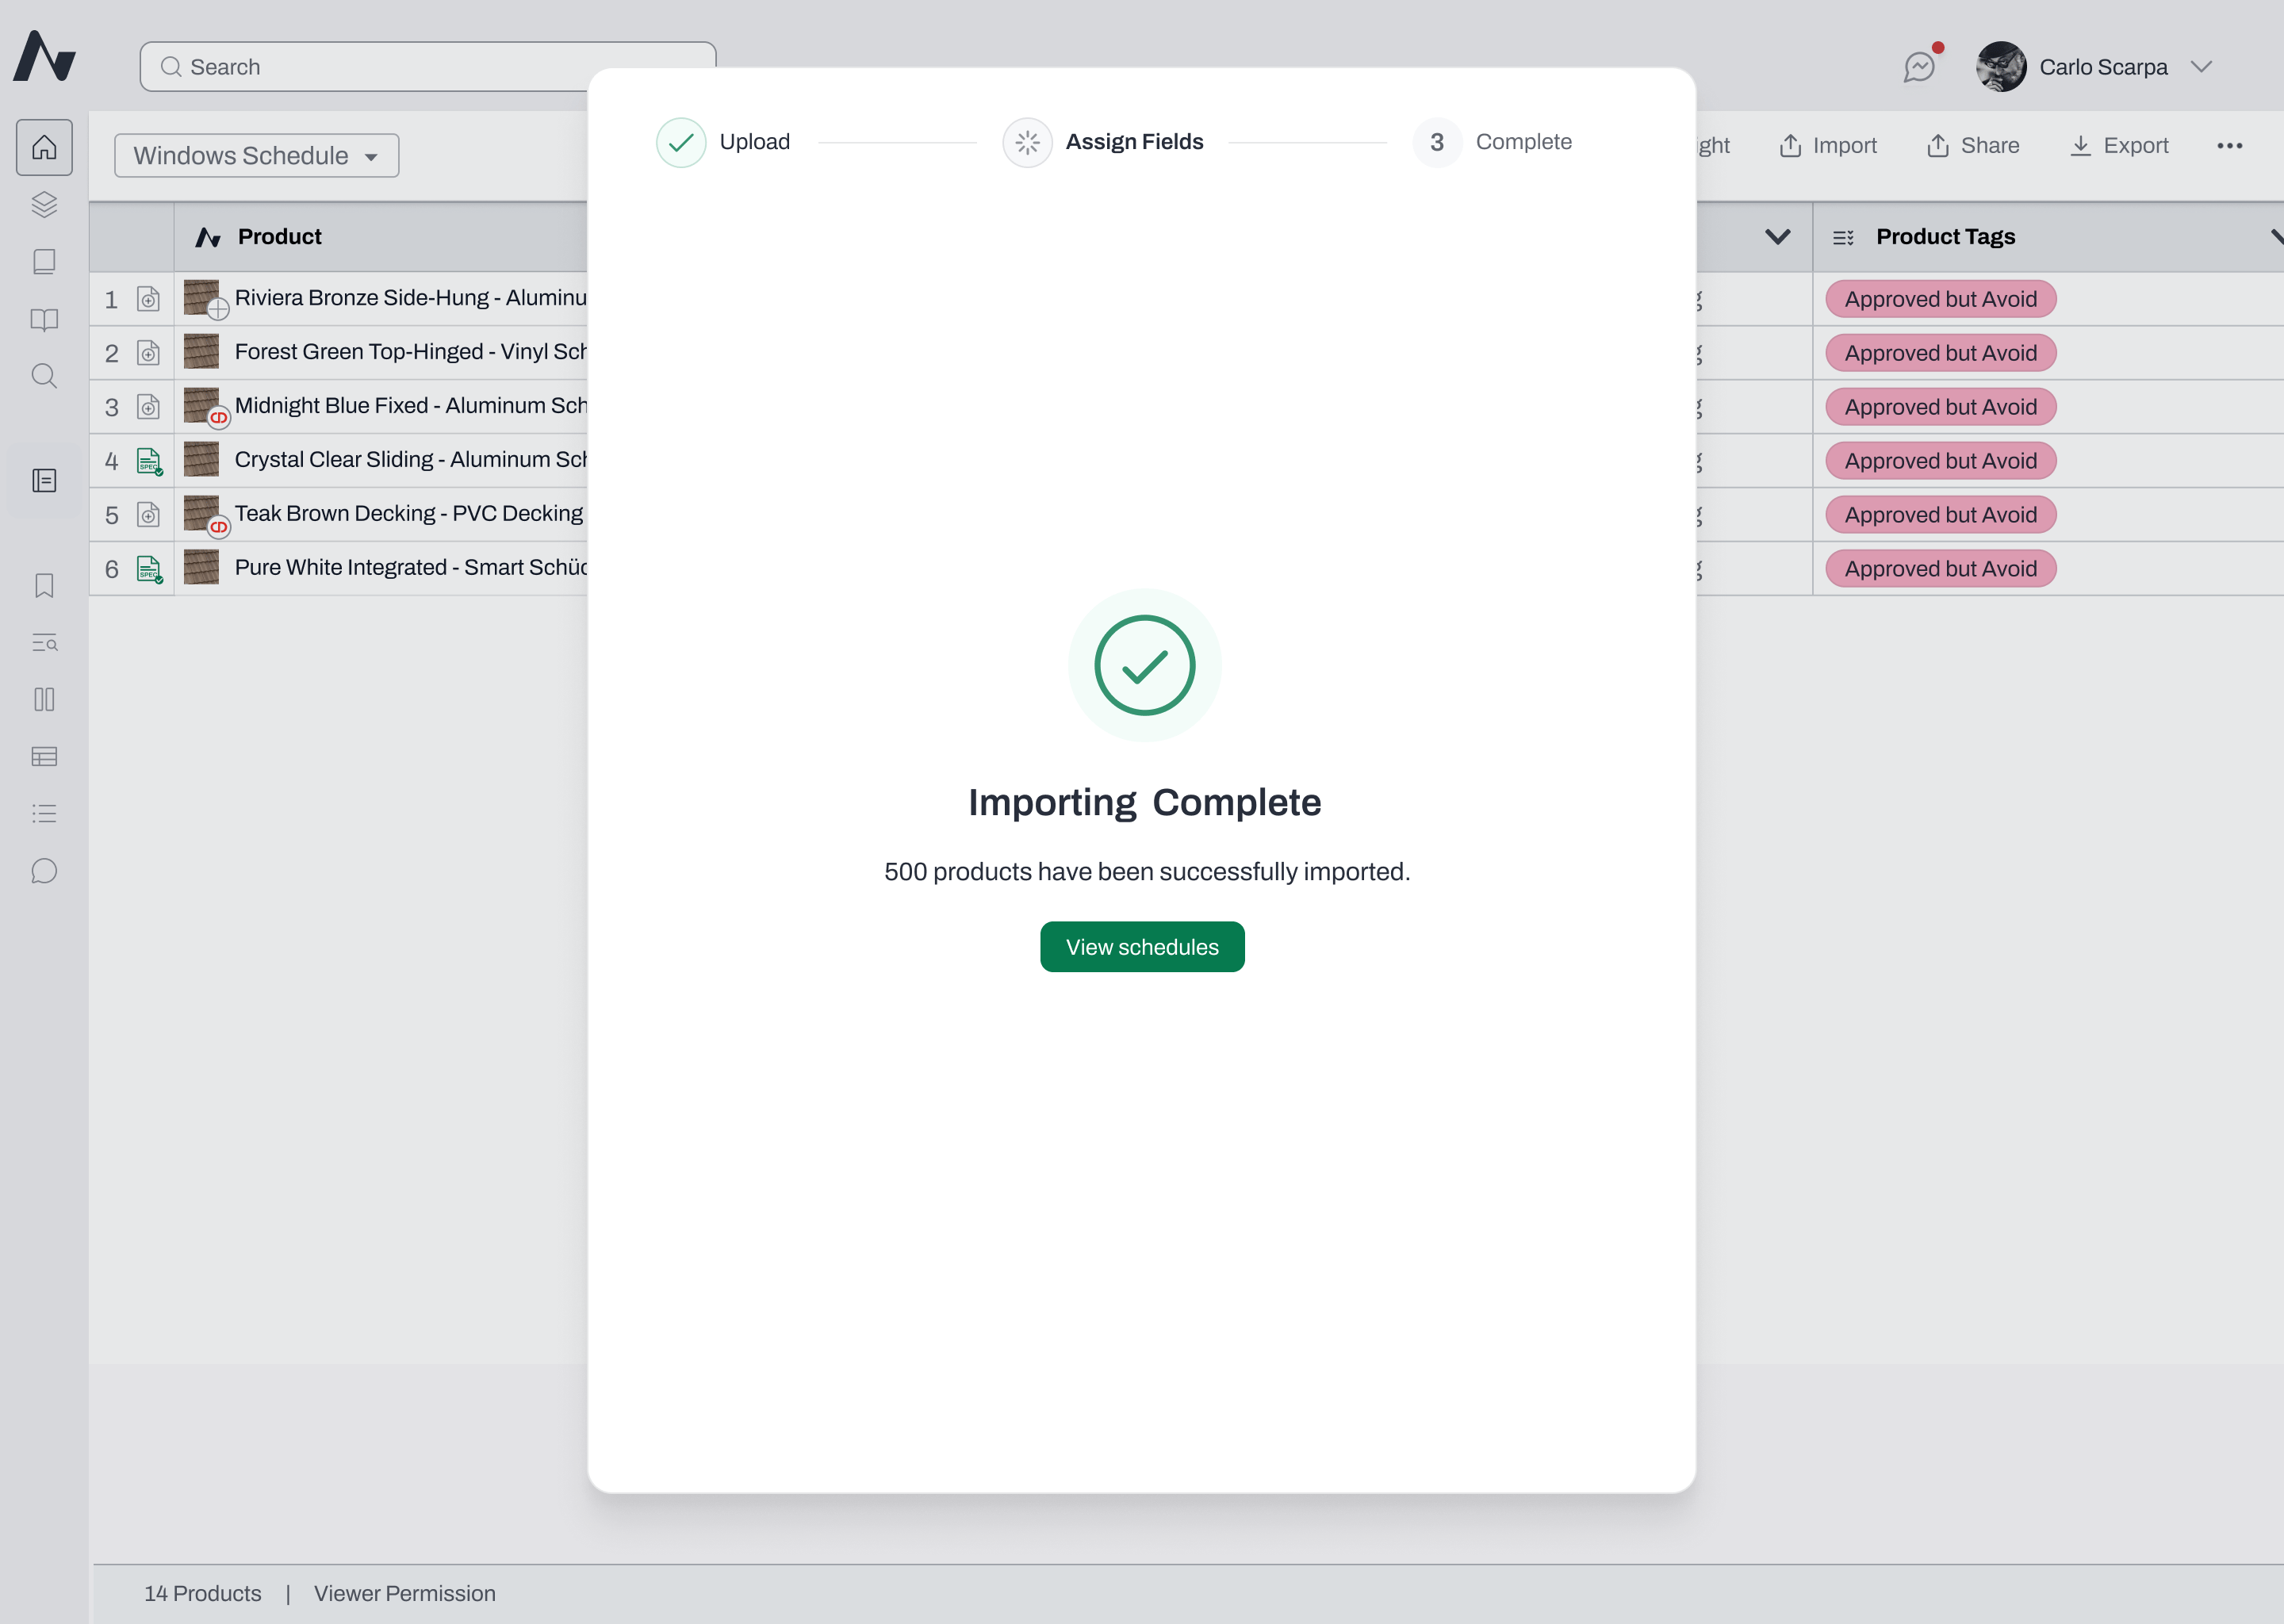
- Click View Schedule to see all imported products in the All Products view.
What to Expect After Import
- All imported products appear in the All Products view as Custom Products.
- You can edit the new custom products in the schedule, replace them with real products, delete them, add them to Spec Planner, and include them in exports.
- If Revit integration is enabled on your project, imported Custom Products will sync to Revit.
- Other team members viewing the schedule will see the imported products in real time.
Coming Soon: Discover Matches
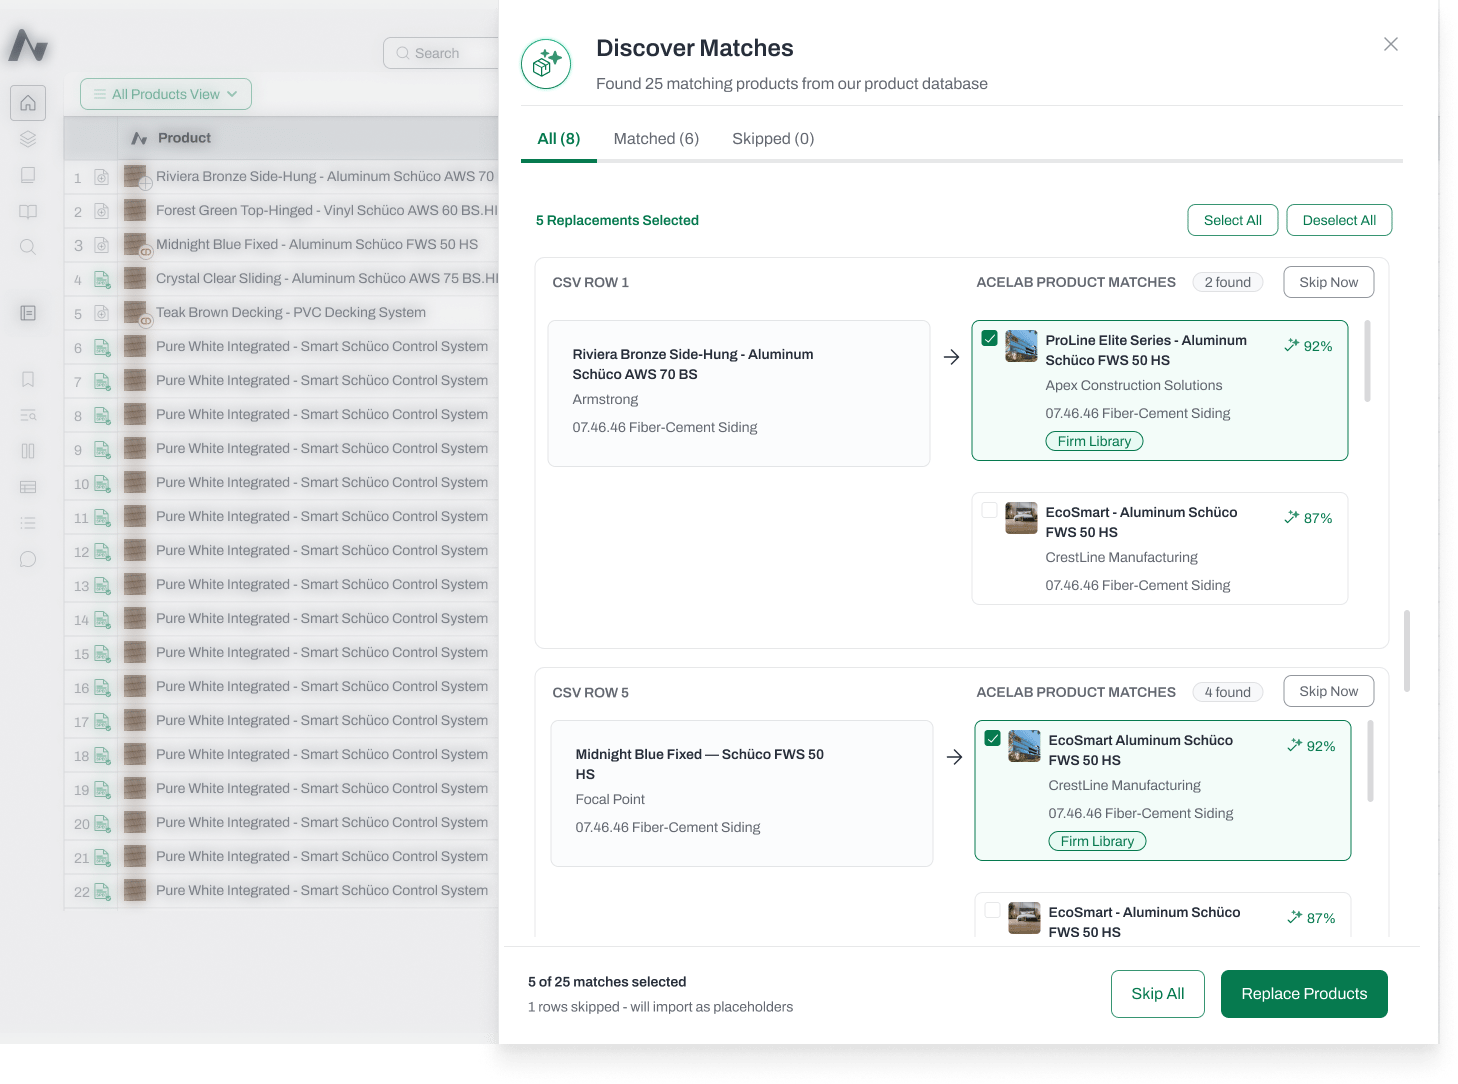
After your products are imported, you’ll be redirected to your schedule. A side drawer will open automatically with AI-suggested matches for your imported products. For each imported product, Acelab’s AI searches the Materials Hub database and suggests the closest real product match, along with a confidence percentage indicating how strong the match is. From the Discover Matches drawer, you can:- Review the AI-suggested match and confidence score for each product.
- Confirm a match to replace the placeholder product with the matched product from the database.
- Search manually if you’d prefer a different match — use the search bar to find and select an alternative product.
- Skip any product to leave it as a placeholder and move on.