

Before You Begin
- You must be a project Admin, Creator, or Editor to replace products.
- Replace Product is available on any row that has a product, placeholder, or manufacturer-only value assigned. It is not available on empty rows.
- Replace mode searches the global Acelab catalog only. You cannot replace with a Custom Product. If you need a Custom Product in place of an existing product, remove the current product and add a Custom Product instead.
How to Replace a Product
1
Navigate to **Schedules**
2
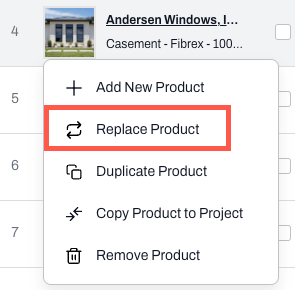
Right-click the product row you want to replace
3
Select **Replace Product** from the context menu
4
The **Explore Products** modal opens in Replace mode.
The header shows which product you’re replacing.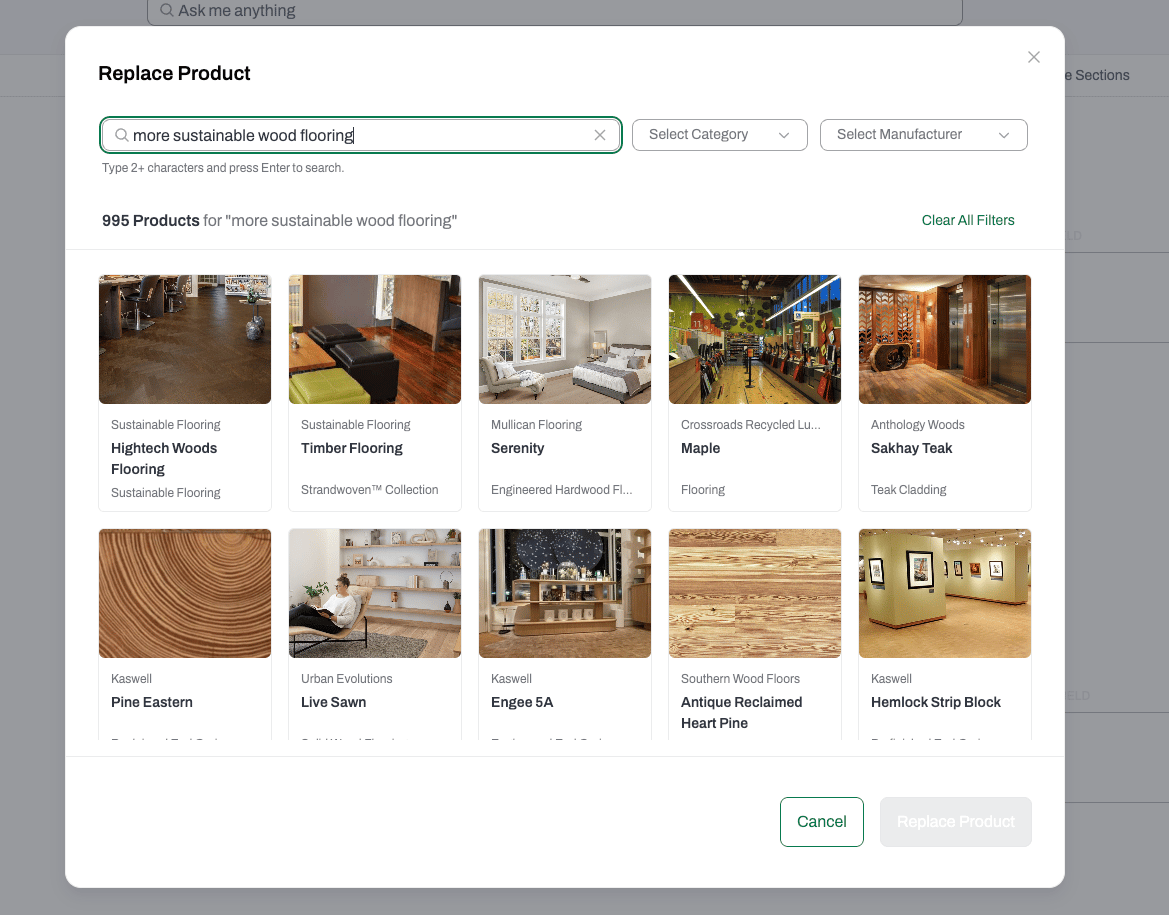
5
Search by keyword and use the **Category** and **Manufacturer** filters to narrow results
6
Select the product you want to use. Only one product can be selected at a time
7
Click **Replace Product** to confirm